The card list for Kaiju No. 8 just released, and man. I already thought this set would have one really good deck, but suddenly it feels like there are 5 or so.
I don’t really want to try to build 4 or 5 different decks in this one post, so I think I’ll just post this as a sort of overview, then build some decks and try them out, and then make posts for individual decks (so those will be more like deck techs than exploratory deckbuilding posts, I suppose).
(As always, translations can be found on Weiss Tea Time; if you’re reading this later on, they might have moved to the archive.)
Table of Contents
Combos And Deck Thoughts
I’ll start by going over the combos that caught my attention, and my initial thoughts on what decks I might want to build.
Level 1 Door Combo
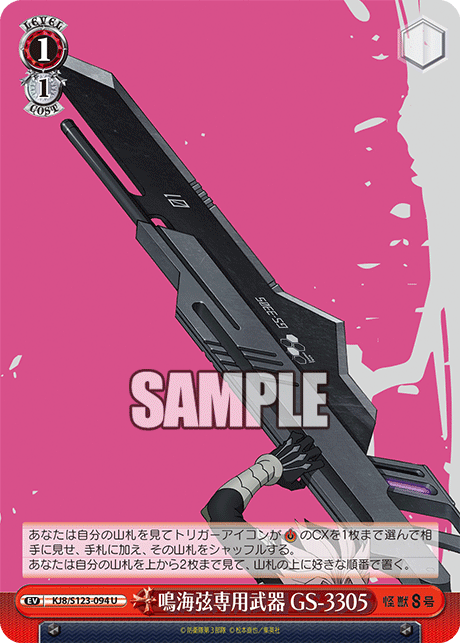
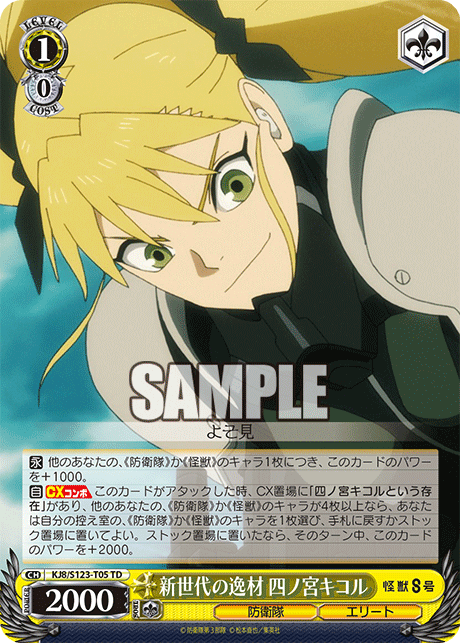
So first off, the level 1 door combo seems very good just as a level 1 combo, grabbing an event that can then grab it back; but then it also just removes any level 0s the opponent leaves in the back row, and it swings at respectable numbers against level 2s and 3s. OK, 10k is often not quite big enough, but you can just throw down another copy of the level 0 that goes with it and swing at 13k if you need to.

Oh, and you can put the 3rd copy of the combo in the back row if you want, or even do quadruple combo if you have all 4 of them. Sure, the combo doesn’t work at all if you only have one copy, but at that point waiting until next turn often makes sense anyway.
The combo does leave a bit to be desired in terms of deckspeed and looping the climax itself… but then, there’s a 4-card koume for doors. (On-death, though honestly you’d likely play over it anyway. I guess it could be awkward if you don’t find the climax and then end up wanting another attacker, or if you do find the climax but still need a 3rd attacker.)
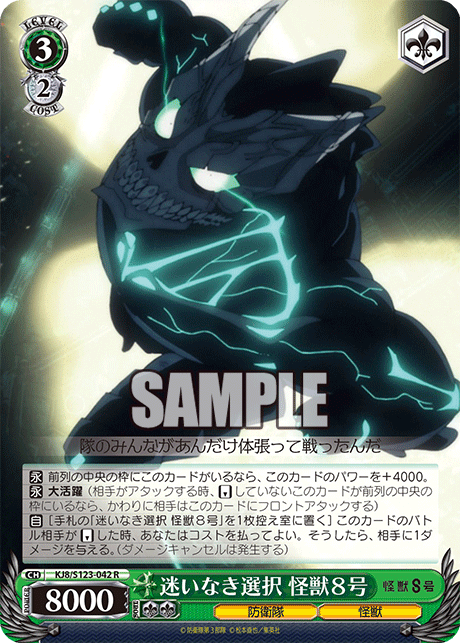
Level 0 Bar Combo
There’s also a level 0 combo; I initially wrote this off since you need multiples of it to plus off the combo, and it’s not a card you particularly want multiples of in either front or back row. (One in front and one in back might work, though it’s still awkward if the opponent has 3 reasonably sized lanes.)

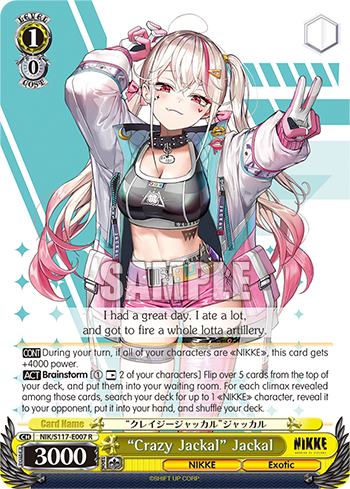
I figured we’d need something like NIKKE’s Jackal to make it worth it… and lo and behold, we did in fact get a very similar card. (Probably slightly worse, since it’s not a 5-card brainstorm, but I’m not complaining.)

Now, this combo might still just be overshadowed by the door combo, but it at least seems worth trying. It seems particularly nice in an 8-bar deck, letting you effortlessly keep your stock relatively clean while also not having to worry much about bars building up in your hand.
Level 3 Bar Combo
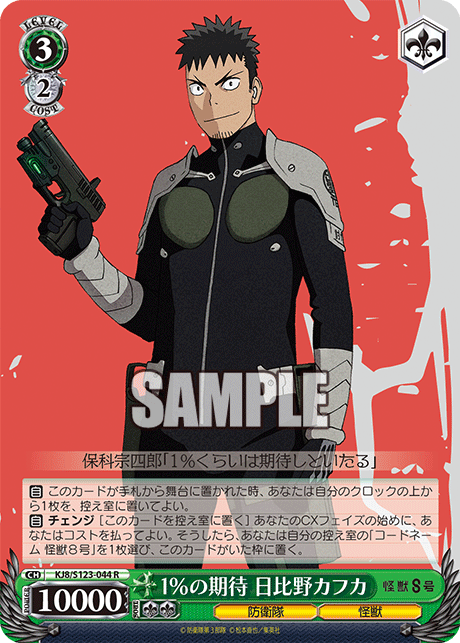
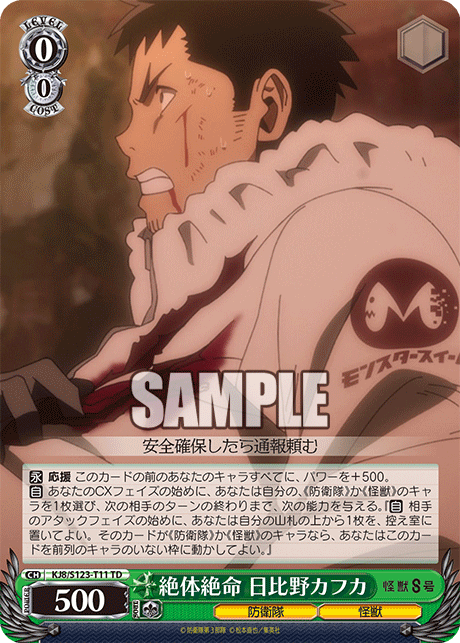
Speaking of bar combos, the TD finisher combo is a solid choice, being reasonably priced while dealing respectable damage (burn 2 + clock kick).

It’s somewhat small for wanting a reverse, I suppose, but not that small, and it gets the burn 2 regardless. And it has 2 changers, one that can let it heal and one that can bring it out early; between that and being on a bar, it doesn’t seem like it’d require a whole lot in the way of sculpting.
8 Standby
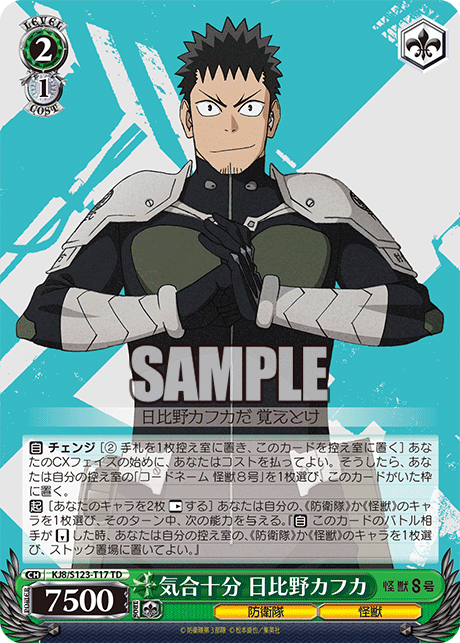
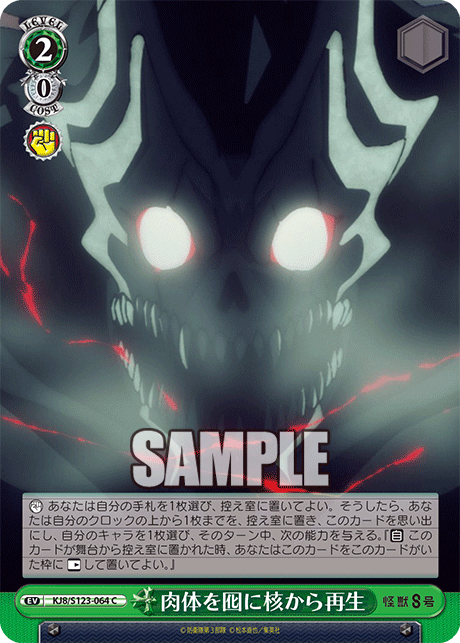
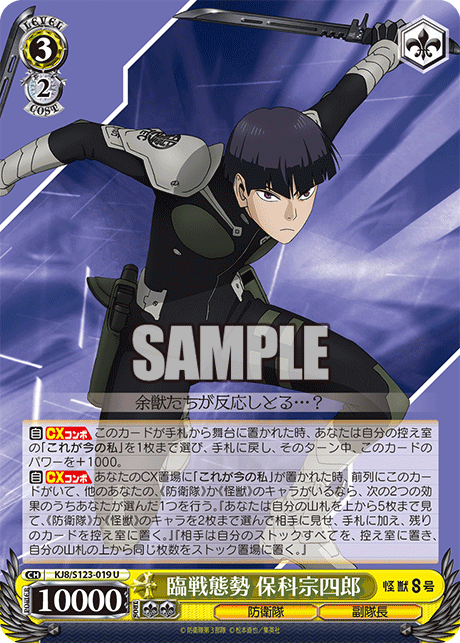
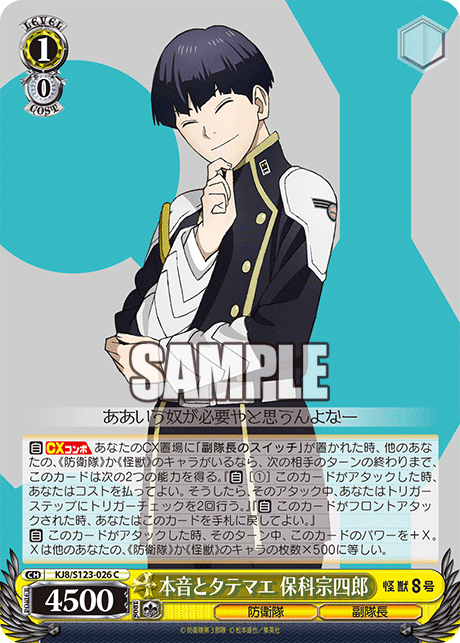
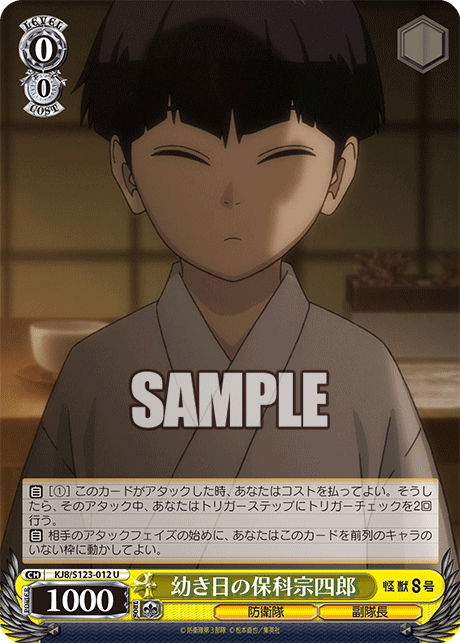
Standby is kind of a weird case because the focus is less on the combos and more on the trigger. I’m not a big standby player, so I’m not especially confident in my standby deck-building skills, but I’ll at least give it a go. Honestly, it doesn’t seem that great, but the thing that made me want to try it out was the fact that the bodyguard got a 2/2 changer: this means that you can standby out the changer at level 1, then use the standby combo at level 2 alongside the changed-into bodyguard. (You can potentially even use the changer to drop any one of the bodyguard, the combo, or the event that the combo needs in waiting room.)

Both of those have the potential to burn for 1; that’s not a ton of damage, but you can aim to gradually wear the opponent down with those alongside the set’s defensive counters (though there’s some anti-synergy there in that the defensive counters can make the combo’s burn 1 whiff).
There’s also an EP with the ability to moca 1, an off-climax finisher that also has anti-burn (though only during its battle, so it doesn’t work if the bodyguard is active), and an off-climax icytail that hits on level 0 characters. Plus the stockshuffle can give everything hand encore if it’s in the front, which could be useful if you trigger a standby and know your opponent will be able to answer your board.


The standby level 1 combo is also interesting.
It’s on reverse, which is worrying, but it can either mill or set up your bottom deck. Depending on how close you are to refresh, it could let you set up your triggers on later attacks, or cancels on your opponent’s turn, or the deck you’ll be looking at on your next turn. (Though of course you don’t know for sure where the line between those last two is.) Plus, it can grab events, so it helps you collect your defensive counters.
I’ve been thinking of this as 8 standby, but I suppose you could potentially have a 6- or 7-standby deck, with some other finisher thrown in there? There isn’t anything that stands out to me as an easy splash, though, particularly with the bodyguard likely meaning that clock kicks would require additional effort to get reverse targets.
Level 3 Door Combos
There’s also the door topend. This is limited by requiring a different character in the front row, meaning you can’t go for triple even if you’re swimming in hand; but it does have access to stockswap.
It’s a bit awkward if the opponent leaves 1 card in their deck, though stockswap does at least do something there (unlike stockshuffle), and there’s also an event that freefreshes both players (though I kind of doubt that’s worth holding onto just for this case).

There’s also an early play combo attached to the same climax, though it doesn’t seem great because it doesn’t inherently do anything to help you stay at level 2 (like healing or compressing your current deck), and it doesn’t refund stock, just hand, so you could easily end up just hitting level 3 the next turn without a lot of stock to play down the finisher.


However, there’s an assist that can let it burn 4 on cancel; perhaps you can aim to push damage in the midgame with that and then finish them off with the finisher? Or ignore the finisher combo entirely (though keep the stockswap option)?
(Side note: I initially misread the assist and thought it worked with the finisher combo rather than the early play combo; honestly, I might have liked that more, though I was still leaning towards the TD combo. And I guess this way allows for more variety, since it puts the focus on the EP gameplan.)
The defensive counters could potentially help you stay at level 2; neither are grabbable off the combo itself, but you could potentially find them off the level 2 that changes into it. The neg soul counter uses stock (which is already likely going to be pretty tight), so I’d be more inclined to go for the heal counter; that does turn it into a 3-color level 2 game, though.
If you go for double EP combo and the assist, that costs 3 stock, plus you need 2 of the changer, 2 of the EP combo, 1 of the assist, 1 of the climax, and 2 other characters on board. If you use the cancel burn once, you end up spending 5 stock (so you end the turn with 2 less than you had the previous turn), and spending 1 more hand than you would have just playing 3 characters and attacking with them (more if you didn’t already have 2 characters in the back row). However, you do end up with two 13k EPs (if they’re both in front of the assist and you had the events in the waiting room), so there’s a decent chance that at least one survives.
The obvious level 1 combo to go with the door topend is the door level 1 combo; they use the same event, and there’s some door-specific support.
But I’m kind of wondering if the standby level 1 combo would be better: it has built-in deckspeed, so you don’t need to dedicate extra deckslots to that — the door topend does take up a lot of deck space — and it saves a stock on one of the level 2s you need.
In general, saving stock by triggering standbys seems pretty helpful; there’s also the potential to get an EP combo out at level 1 if you cancel well (which the level 1 combo can help with), or to get the stockswap out at level 2. The combo needing a reverse isn’t ideal, of course, but the standby itself is more important, and if you don’t have reverse targets, you can potentially make up the hand with the EP combo.
Level 3 Choice Combo
And then there’s the choice topend.

This one doesn’t go with either the door level 1 combo or the bar level 0 combo; since it’s based on milling soul triggers, you want to maximize those. Because of the card that adds soul triggers to your choices, the choice level 1 is the obvious ch— way to go here, since both it and its climax have a soul trigger (unlike the standby level 1 combo, the shot level 1 combo, and, weirdly, the early-play choice level 2 combo).

However… the finisher doesn’t count the number of cards with a soul trigger, it counts the total number of soul triggers. So ideally, you don’t want to merely fill up your deck with soul triggers — you want double soul triggers.
Now, the set doesn’t have any convenient stocksoul combos or anything; the only double soul trigger is the empty 2-soul from the TD. Furthermore, the only stocksoul that’s playable with any set is blue, a color that this set doesn’t have. So the options for double soul triggers are either stocksoul (from the top of the deck) with random off-trait blue characters, or 2-souls.

I honestly might still have been tempted by the stocksoul, but the final nail in the coffin, in my mind, is the fact that the finisher’s cost requires ditching a traited character (it doesn’t even let you drop the event that you need in the waiting room, awkwardly). You need to run some blue characters because the stocksoul is pointless if you can’t play it, but if you end up with them stuck in your hand on your finishing turn, it’s basically as if you just have less hand. Maybe you wouldn’t end up needing that hand anyway, but it was already pretty questionable to run these characters instead of something better just to try to get an extra stock or two over the course of the game.
But wait a moment — either way, if you want a decent count of double soul triggers, then you’re not running an advantage combo. (No, I’m not counting “draw 1” on an off-trait level 2.) And while this finisher isn’t super expensive and has the benefit of searching on play, it still costs 7 stock to triple. So the first question should really be: will this work at all, or do we need to go for the choice combo just to have enough resources? Well, without trying it out I don’t really know, of course, but I’m inclined to think that it will work, primarily because of these two cards:


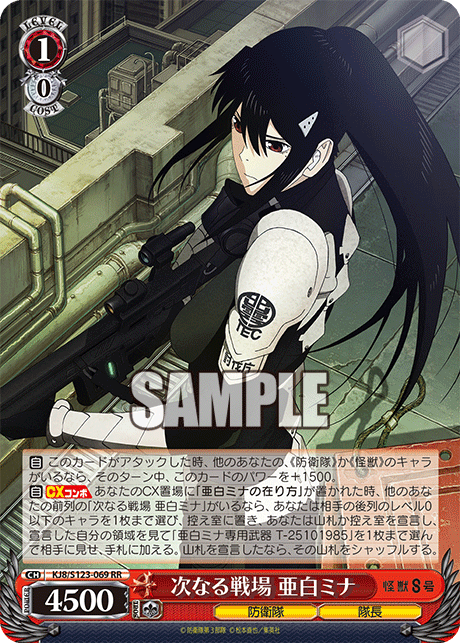
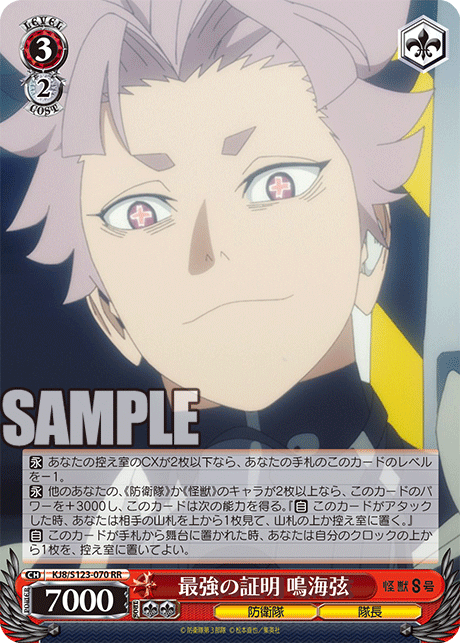
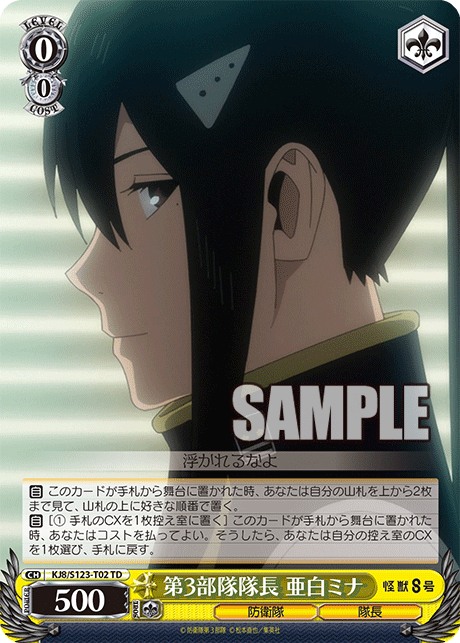
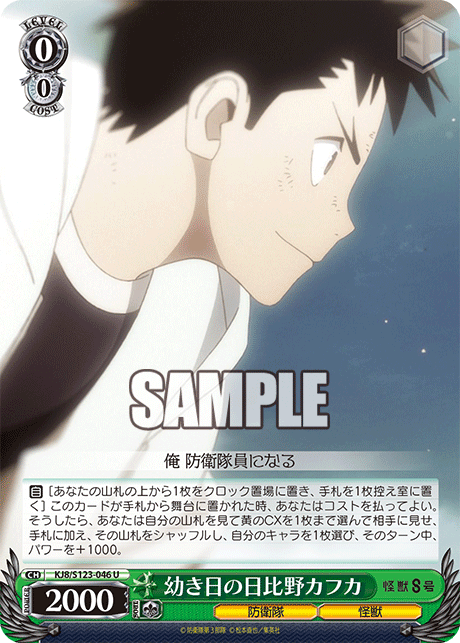
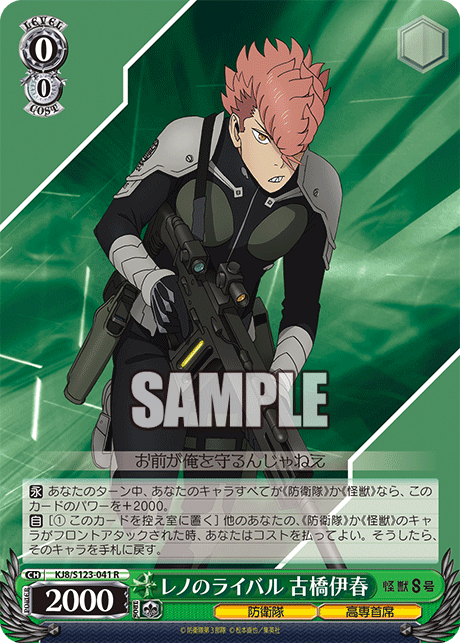
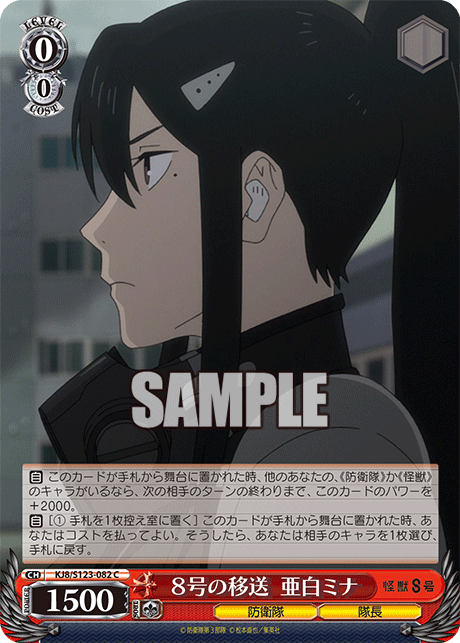
In a deck with a lot of soul triggers, you already want to be playing a fairly high count of level 2 or higher cards, and these are cards that not only take advantage of that for free plusses, but do so pretty well, and while swinging reasonably big. The Mina checks 2 cards, which vastly increases the chances of hitting, while the Reno is a 3.5k, having a chance of surviving at level 0 even if it would have whiffed the topcheck. Mina can even pump Reno to reasonably swing over a level 1 combo (particularly if you have the on-turn global 1k in the back). And a 2-soul climax can let you reasonably side if necessary.
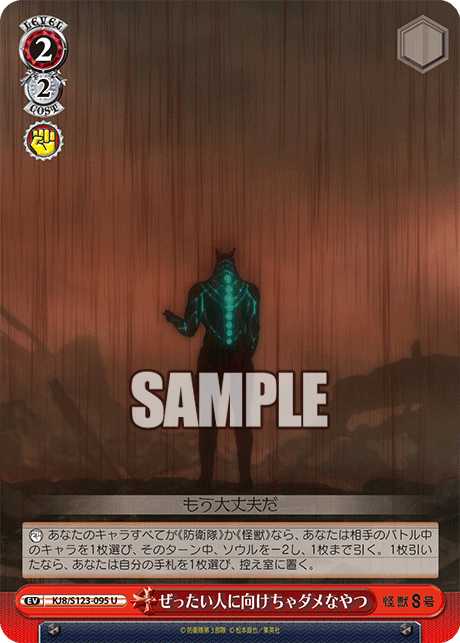
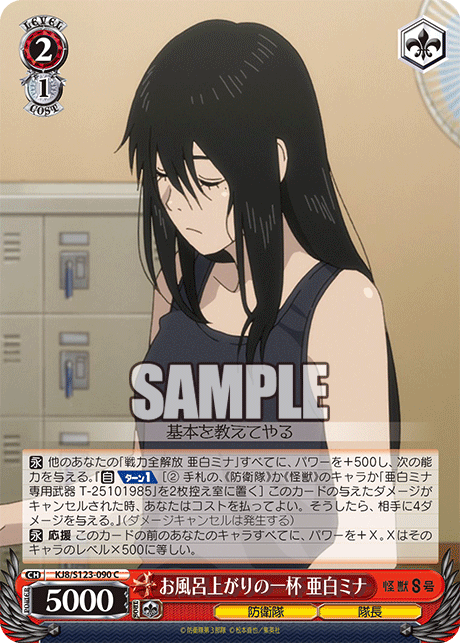
This level 2 can also help maintain (selective) hand while pushing damage, though it does cost stock and you’re not guaranteed to have a reasonable reverse target:

Incidentally, this set, in addition to having a level 0 climax swap with a soul trigger, has a total of five 1/0s with soul triggers, though admittedly none of them particularly help with resources, outside of maybe the antichange counter if it makes your opponent side. (There’s also a level 0 that can put the vanilla on the bottom of the deck, which could be useful if you’re close to refresh on your finishing turn.)


Also, there’s a jintsu for yellow climaxes, meaning you don’t have to worry too much about the choice getting stuck in deck where you can’t swap into it. There’s also a card that can grab climaxes (or anything else) out of clock.

Oh right, one more thing. This finisher is doing a lot of burn 4s, and swinging for probably 4 or 5. And while with enough of those big swings, it’s fairly scary even in a compressed deck, it’s certainly possible for the opponent to just cancel everything (particularly if you’re only contesting 1 or 2 lanes a turn, letting them get compressed and sculpted). The set having a stockshuffle is quite important in that regard, but the opponent can still just build a lot of clean stock and mill down to 1 card.
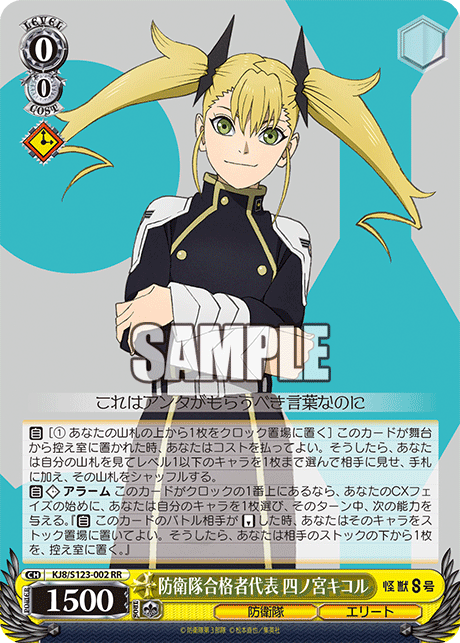
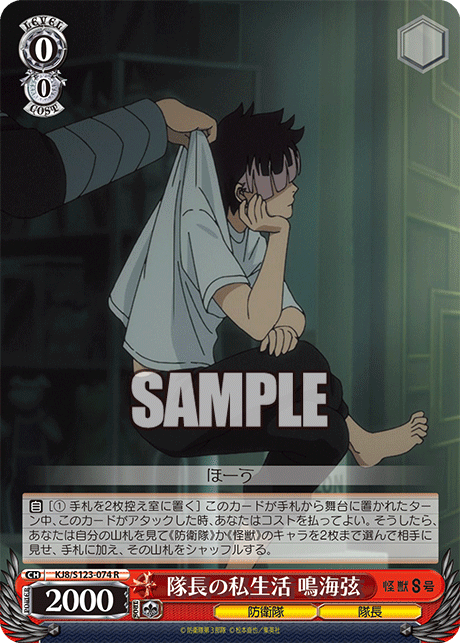
So what do you do in that case? Well, you can at least shuffle back 4 characters:

Now, this does remove an attack — that 2/1 has to be in the front row, and the character it summons to replace itself is rested (if you have a valid target to begin with) — but it may well be worth it, particularly if that one card in deck is clean and the first 4 sticking then puts their clock into refresh. This can also potentially be used after stockshuffling a small compressed deck, so you’re not just dealing with a small uncompressed deck, but a medium-size, significantly uncompressed deck. It can also be used with other finishers, of course, but this one is the only one that naturally fulfills the Kikoru name condition. (It might struggle with that condition if you want to use it at level 2, though.)
Finisher Comparison Table
There are a few different finisher combos in the set, so I made a table to try to compare them. I didn’t include off-climax finishers, including the standby combo and the EP door combo, since it seems obvious that they’re more expensive (or less impactful) than something that uses a climax combo to deal damage. The standby and EP door decks are presumably looking to start pushing damage at level 2, anyway, rather than aiming for a single finishing turn.
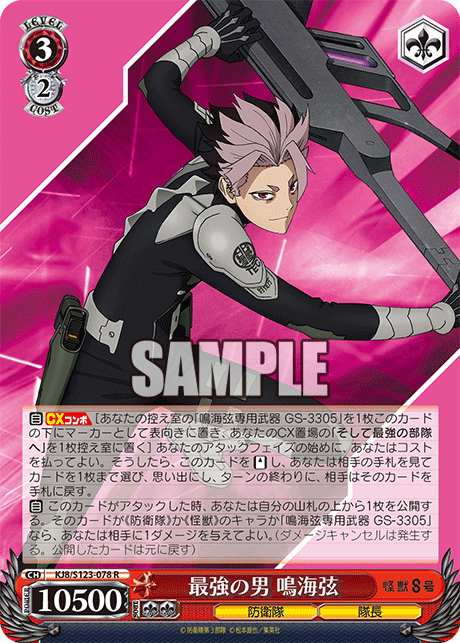
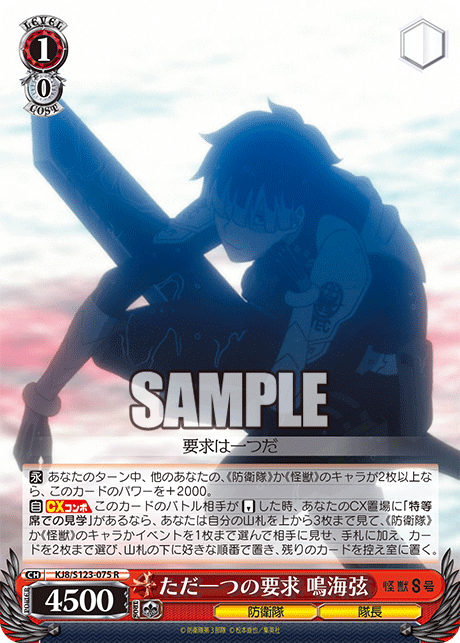
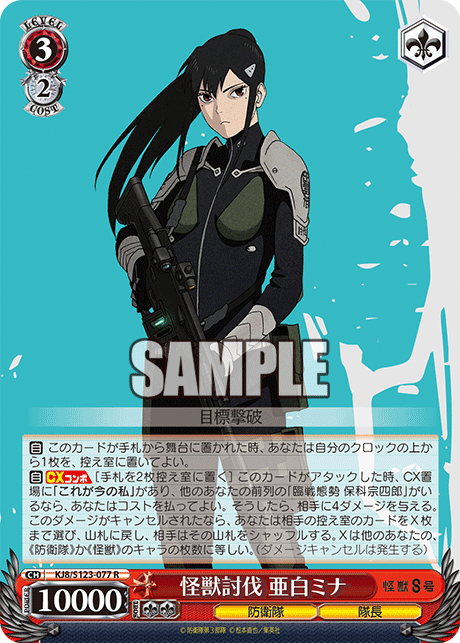
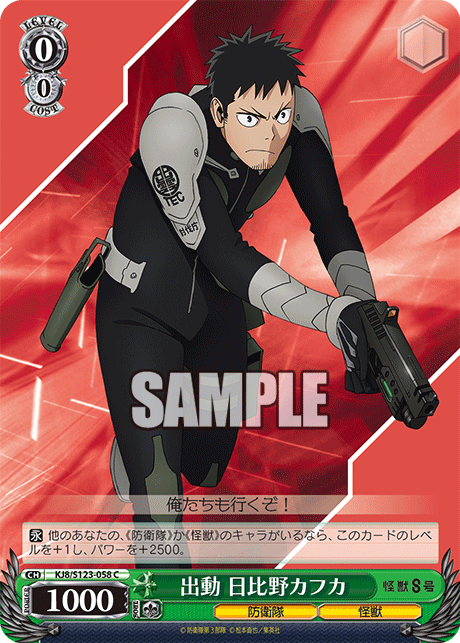
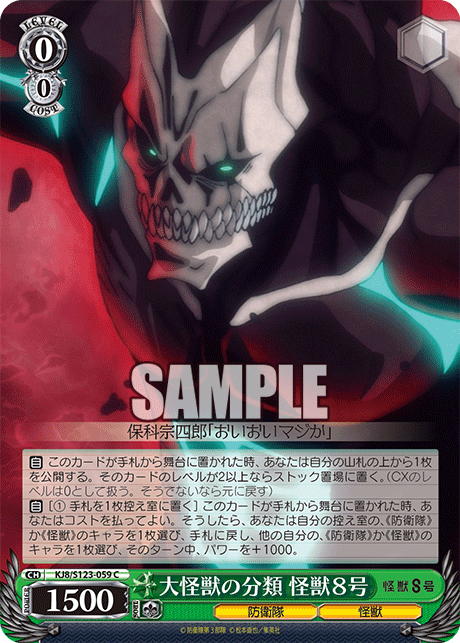
So these are the finishers I included: the Kikoru choice combo, the Soshiro shot combo, the Kaiju No. 8 bar combo, the Reno bar combo, and the Mina + Soshiro door combo.

Since the finishers here are quite varied in what they do damage-wise, I ordered these examples from most to least expensive; hopefully it’s helpful in getting an idea of which setups are most comparable to each other.
These also all assume no decompression. The Mina/Soshiro door combo effectively saves 2 stock and a sculpt compared to the others when it stockswaps where they stockshuffle (not an exact comparison, but still useful to keep in mind).
I also assumed no soul triggers (or direct lanes) except for Kikoru, and that any 3rd lanes are 1-soul characters, so some of the damage numbers could potentially be bigger.
In some cases I used the clock kick (TD finisher) as an off-climax finisher; the standby finisher or the Gen EP can be easily substituted in there if you’d prefer top-check burn 1, or moca 1, over on-reverse clock kick (or if red just works better than green).
Since the Kikoru choice combo has a lot of variation in how many instances of damage it could do, I just guessed that you probably hit about as many times as you mill, or maybe 1 less. Perhaps that’s overly optimistic? But I wanted something at least somewhat concrete to put there.
| Finisher | Instances of Damage | Cost | Sculpting | Additional Requirements |
|---|---|---|---|---|
| Triple Soshiro | 12 (3× 3, 6× 1, 3× clock kick) | 10 stock, 10 hand | 3 combo, climax | Reverses for clock kicks, events in waiting room on each attack (2 can be dropped on previous attacks) |
| Double Soshiro + Clock Kick | 10 (2× 3, 1× 2, 4× 1, 3× clock kick) | 8 stock, 8 hand | 2 combo, 1 clock kick, climax | Reverses for clock kicks, events in waiting room on 2 attacks (1 can be dropped on previous attack; 1 more stock to have those 2 attacks be the first 2) |
| Triple Kaiju No. 8 | 9 (3× 3, 3× 2, 3× clock kick) | 7 stock, 7 hand | 3 combo or changer, climax | Reverses for any clock kicks, another character on stage when first combo is played (if no changers) |
| Double Soshiro | 9 (2× 3, 1× 2, 4× 1, 2× clock kick) | 6 stock, 7 hand | 2 combo, climax | 3rd attacker, reverses for clock kicks, events in waiting room on 2 attacks (1 can be dropped on previous attack; 1 more stock to have those 2 attacks be the first 2) |
| Triple Kaiju No. 8, Double Combo | 8 (3× 3, 2× 2, 3× clock kick) | 6 stock, 6 hand | 3 combo or changer, climax | Reverses for any clock kicks (first one is 1k smaller), another character on stage when first combo is played (if no changers) |
| Triple Kikoru | 8~9? (5~6?× 4, 3× 3~5) | 7 stock, 4 hand | 1~3 combo, climax | Events in waiting room on each attack, soul triggers in deck, extra hand all needs to be traited characters |
| Double Mina + Soshiro | 5 (2× [4 or shuffleback], 3× 3) | 6 stock, 5 hand | 2 Mina, 1 Soshiro | 2 more board for shuffleback 4, climax in waiting room |
| Triple Reno | 6 (3× 3 (2 with pseudo-moca 1), 3× clock kick) | 6 stock, 4 hand | 3 combo, climax | 3 reverses |
| Double Kikoru + Clock Kick | 7~8? (3~4?× 4, 3× 3~5, 1× clock kick) | 6 stock, 3~4 hand | 1~2 combo, 1 clock kick (if not in deck), climax | Events in waiting room on last 2 attacks (or extra stock if comboing on 1st attack), soul triggers in deck, extra hand all needs to be traited characters, 1 reverse |
| Double Kaiju No. 8 | 7 (2× 3, 3× 2, 2× clock kick) | 4 stock, 5 hand | 2 combo or changer, climax | 3rd attacker, reverses for clock kicks |
| Double Kikoru | 6~7? (3~4?× 4, 2× 3~5, 1× 2~4) | 4 stock, 3 hand | 1~2 combo, climax | Events in waiting room on last 2 attacks (or extra stock if comboing on 1st attack), soul triggers in deck, extra hand all needs to be traited characters, 3rd attacker |
| Double Reno | 5 (1× 3 with pseudo-moca 1, 1× 3, 1× 2 with pseudo-moca 1, 2× clock kick) | 4 stock, 3 hand | 2 combo, climax | 2 reverses, 3rd attacker |
Note that any of these could potentially be made 1 stock cheaper by putting this 2/1 in the back the previous turn (or 2 stock cheaper with 2 of them); effectively, you’re spending sculpting and backrow space to gain a stock.

The Kaiju No. 8 bar combo and the Kikoru choice combo get you the most bang for your buck, I’d say, though of course Kikoru has a lot of conditions on that. The Mina + Soshiro door combo is mostly only worth it when you need cheap decompression, I suspect. The Soshiro shot finisher seems very expensive for not much benefit over the TD finisher, while on the other end the Reno bar finisher is cheap but just doesn’t feel impactful.
I suppose all of this was fairly clear even without this table, but hopefully it’s still helpful to see it put together.
Plussing Level 0s
When looking at plussing 0s for this set, the big thing that comes to mind for me is the rikis. Not only is there an on-death search riki, there’s also an on-play & on-death salvage riki.

So between the two of those, you can easily just play down a bunch of on-death rikis at level 0, while still having the option to efficiently clock yourself up during main phase. Plus there’s an on-play summon riki, which also has a draw-drop attached to it; that’s kind of nice, particularly if you’re playing the level 0 combo.

There’s also a chaser, a free runner, and a card that can make something a mill runner.

I’m generally not a big fan of runners since they’re less useful going second, but they’re certainly an option. The chaser being level 1 is kind of nice for making the opponent crash and leave open lanes; while on the other hand, the other runners can help prevent the opponent from crashing if you’re running an on-reverse combo (and all of them can make stuff more awkward for an opponent running an on-reverse combo).
There’s a shinobu; that’s also nice with or against on-reverse level 1 combos, as well as for looping stuff in general. It doesn’t go great with on-death rikis, but it does at least help them avoid hard removal.
Then there are a couple of oversizes, a 4k and a 3.5k level 1, plus a bouncer that sits at 3.5k. I’m also generally not a big fan of oversizes, since they’re not very useful if the opponent hits level 1 immediately, but again, they’re an option.
Overlapping with the oversizes a bit, there are also two cards that can plus if they see level 2 or higher cards (which I mentioned earlier when talking about the choice finisher).
And while it’s not exactly a plussing 0, it’s notable that there’s a double drop search.
I’m not sure how to feel about this profile, honestly; it’s nice that it can search out 2 copies of your level 1 combo, but that doesn’t work if you hit level 1 turn 2 going first, and it does cost a stock. But unlike the other series I’ve played that have this profile, there’s no on-death ruijerd that you already want to play, so it’s not competing with too much in terms of early-game filtering. The on-death search riki does already give you a decent amount of early selection from deck, though.
On the subject of “not exactly a plussing 0”, there are also a couple of level 0s that can potentially give you free stock: one if it reveals a level 2 or higher card, and one if the opponent plays a climax. Both of these also have abilities that cost stock, so you could either use them to attempt to generate extra stock or just as utility cards that have a chance of not using a stock.
So that’s a decent number of options, but at the end of the day, I suspect I’ll mostly just end up running a bunch of rikis as the core of my level 0 game for most of the decks I make; combining plussing, selection, and the ability to clock yourself up is just a very powerful thing in my mind.

Leave a reply to Kaiju No. 8: Door / Bar Deck – Next Card Climax Cancel reply