With Project Sekai coming out in English (or “HATSUNE MIKU: COLORFUL STAGE!” as it’s called officially), I figured I’d make a post about the deck I played when it came out in Japanese. I won a couple locals with it, so I think it’s at least decent; of course, that was a couple years ago at this point.
Table of Contents
- Deck List
- Deck Concept & Topend
- Early Game Engine
- Utility & Tech Cards
- Cards Not Included
- Closing Thoughts
Deck List
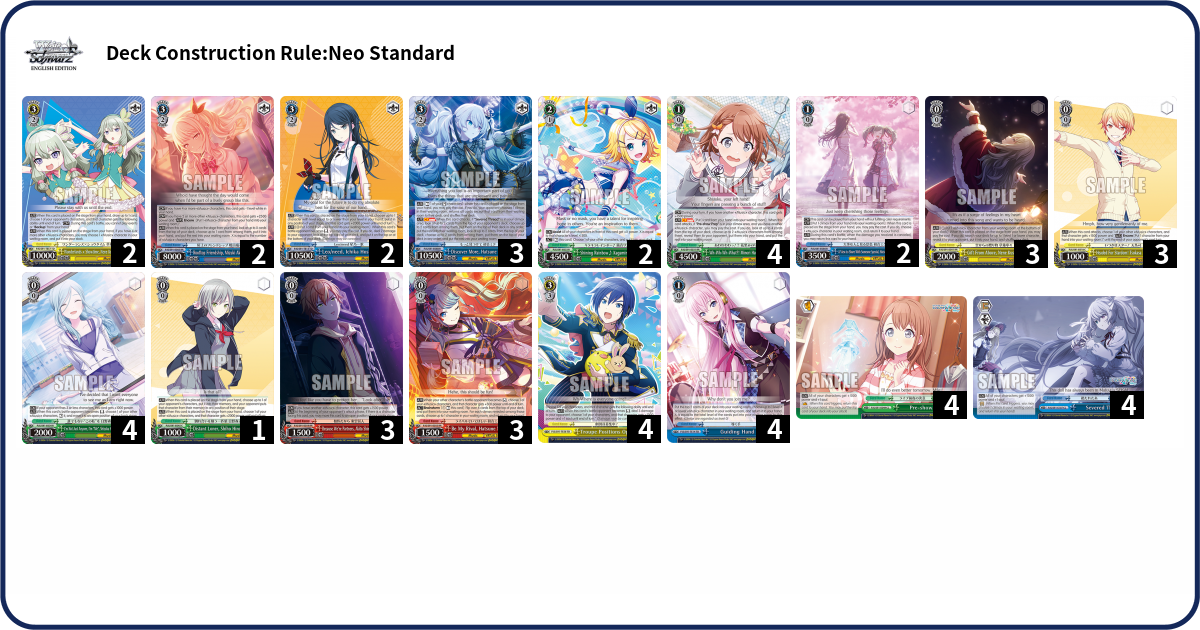
Deck Log: 3LUJW
EncoreDecks: sYUCNLvrM
Deck Concept & Topend
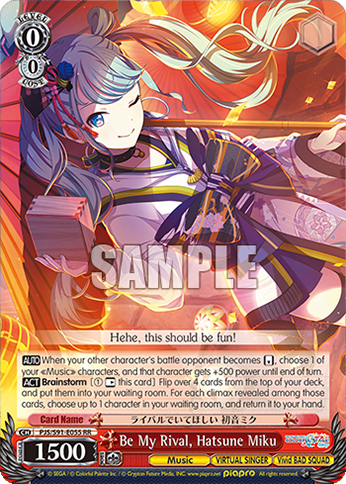
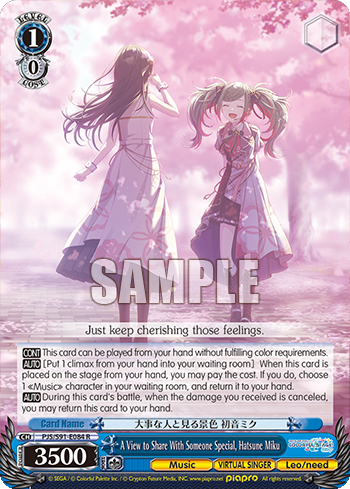
The core of the deck was aiming to combine a cheap finisher combo with a bunch of off-climax finishers, namely the 3/3 event and the Ichika that burns 2 on reverse. Pretty much the only cheap finisher combo is the Miku, so that’s what I went with.
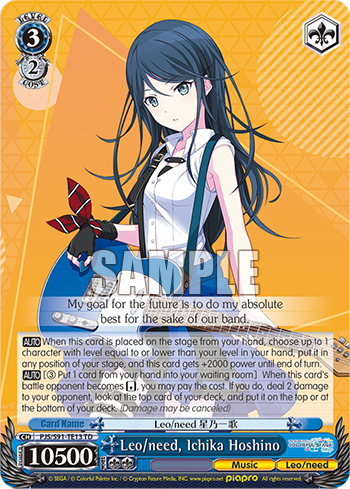
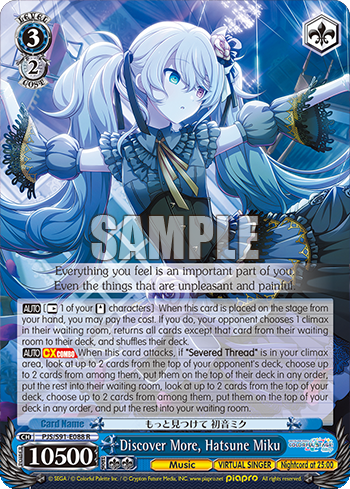
The goal was basically to have 2 Mikus, 1 Ichika, and 2 events, for a total of 6 instances of damage, 2 moca effects, and a fumio if it’s helpful; that costs a total of 7 hand and 10 stock, or 11 stock if you want to stack the events on the Ichika and attack with her 2nd to be able to pump soul to the 3rd lane. But of course, it’s all pretty flexible, depending on what you have available.
I run 4 of the event to maximize the chance of being able to find 2 of them by the end of the game; 2 of the Ichika because it’s generally only used once per game, but it’s important enough that I don’t want to run it as a 1-of and risk it getting lost (and this deck doesn’t have too much selection to begin with); and 3 of the combo because you’d ideally like to have 2 of them but don’t actually care that much about it (so it’s not really necessary to run it as a 4-of).
Running at least 3 of the combo also keeps the option of triple combo open, for example if you know you won’t be able to get a reverse.
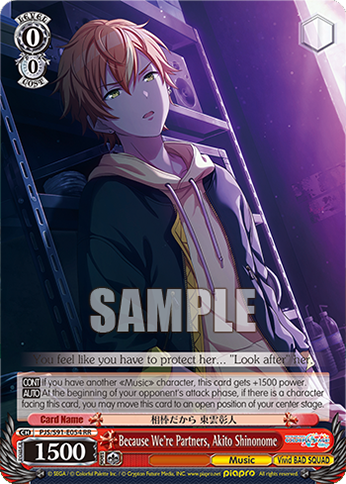
On the subject of getting a reverse on the finishing turn, the Nene that prevents events or backups in a lane can be very helpful.
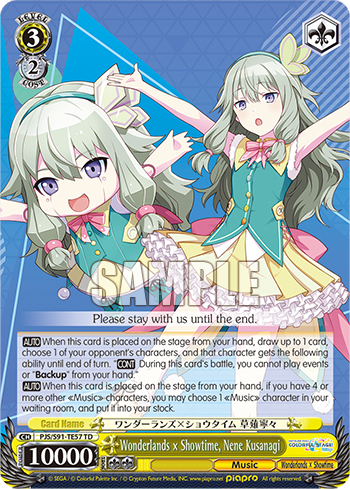
It’s also very cheap, costing 0 hand and 1 stock (unless you don’t have the full field condition, in which case it costs an extra stock, or maybe an extra hand to get that condition). This is a 2-of mostly because of the relatively weak selection for level 3s; there could also be some cases where you want to play it twice, to prevent counters in 2 lanes. (And even if you don’t need to prevent counters, it can still be a 1-stock 2-soul character that draws a card.) Another option for preventing counters in 2 lanes is to use this on one lane, and then side another lane with the combo; since the combo can dig for a soul trigger, it can potentially still get damage in even when siding a level 3. Or you can put the ability from the 3/3 event on the first lane (with counters prevented), and use the soul from that to let you side the next lane.
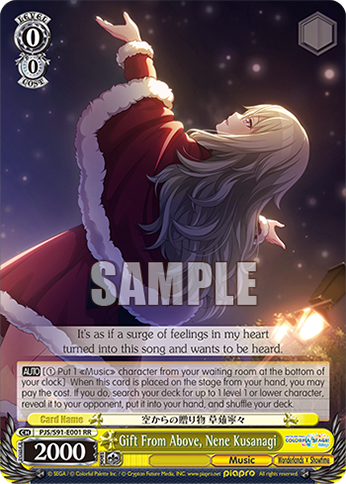
The Rin assist that can put a character into stock is nice as a way to generate a bit of extra stock (which is important since the topend is pretty stock-intensive), at least if you play down some utility cards that you’d otherwise play over anyway, or if characters survive that you don’t need to attack with next turn.
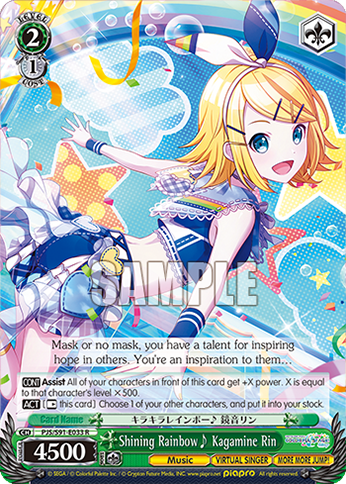
And even if neither of those things happen, it’ll probably at least break even on stock, since you almost always have something you can throw into stock on your finishing turn (like a brainstorm). That alone might be enough to justify it, since the extra power from the level assist can help you get a reverse or two. It can also let you do stuff like play the Nene with a full field (to get the stock refund), then put something into stock (say, a rested brainstorm), then play the combo into the empty spot and rest the Nene for the fumio.
This is a 2-of because you’d like to see it by level 2 rather than waiting for level 3 (the earlier you play it down, the earlier you can start getting free stock or converting hand to stock), but you still only need 1 and have until level 2 to find it.
Early Game Engine
The plussing combo I opted to go for was the Minori level 1 combo: it doesn’t require a reverse (or an empty lane), unlike a lot of the other options, letting it still be useful into decks that wall up, even at level 2; it swings big enough to kill level 1s, notably unlike the Airi level 0 combo; and it provides milling and a built-in ditch outlet (very nice when your climax lineup is bar/pants).
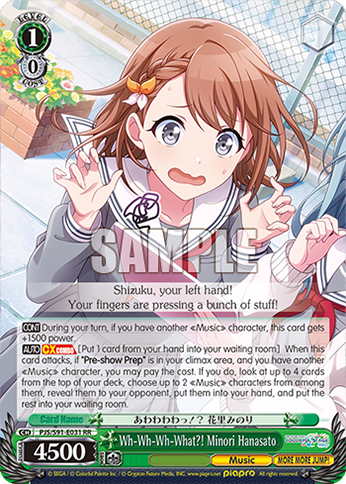
It also provides some amount of selection, though it can be awkward if you already have a hand full of cards you want to keep, since you do need to ditch something up front in order to plus. It’s also sad that it can’t get events; I’ve definitely had cases where at least 3 out of the 4 cards were events and climaxes, meaning it didn’t actually plus, and having a decent amount of whiffs can also make it harder to minimize milling when you’re already compressed. Still, it’s a solid level 1 combo overall.
The level 0 game for the deck is centered around these 3 cards:


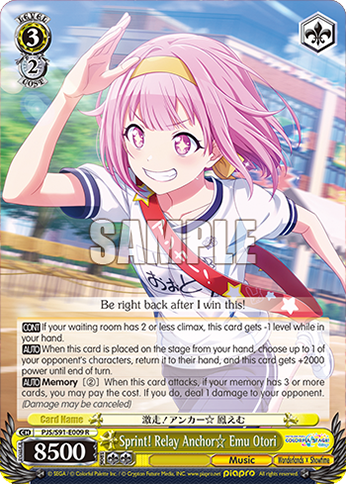
The runner and the cleancut are generally good plussing level 0s: the runner if you go first, and the cleancut if you go second. Though there’s also a chance for the cleancut to survive if you go first, or for the runner to survive if you go second (potentially in combination with the cleancut, to let you still attack 3 times).
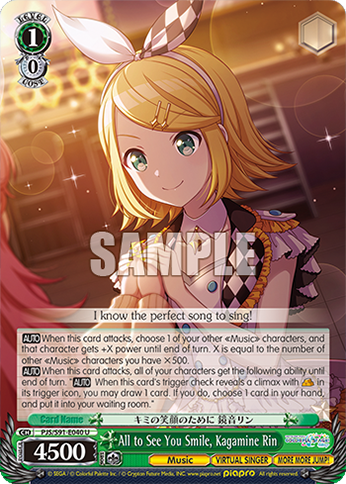
The Tsukasa works fairly well with both of them, but particularly the cleancut, pumping it up to 4.5k (or 3.5k if the opponent has 4 or 5 characters), and letting you hand encore it; if you cleancut the Tsukasa, you can then do the same thing next turn, if you have a suitable reverse target. (I once did this something like 4 turns in a row, since I wasn’t seeing my level 1 climax.) And even if you don’t want to cleancut again next turn, the Tsukasa can still give your level 1 combo hand encore, so it’s still a decent cleancut target. (Along the same lines, you can cleancut the level 1 combo, if the cleancut can get a reverse at level 1.)
The Tsukasa can also pump the runner up to 4.5k; if you only attack twice, then the opponent needs to present 2 lanes that can answer a 4.5k in order to get rid of it, though of course the 1k Tsukasa is in the third lane (unless you crash, I suppose). That is the main downside of the Tsukasa, not being particularly big himself; that said, it’s fairly common for the opponent to have a small lane that he can contest, or else a large lane that you can’t contest anyway, or else a utility card that’s not too bad to leave alive, so it doesn’t always end up mattering.
I ran 4 of the cleancut and 3 of each of the others, with the idea being that the cleancut is the one I’d most like to see 2 of, and is generally the most important (the Tsukasa isn’t a plussing 0, and plussing is more important when you go second).
Utility & Tech Cards
The cigarettes event is helpful for selecting into the level 1 combo, as well as tech cards like the power pump, though of course it’s less helpful for selecting into level 3s. It can be awkward that it’s a whiff on the level 1 combo (and a different color); you could potentially run more of some sort of character with a selective ability instead, but those tend to be less efficient.

The salvage brainstorm is quite important, as pretty much the only form of late-game selection in the deck.
It’s a 3-of to ideally not have to spend selection on finding it in the first place. Not having more selection for level 3s can be a bit awkward; in particular, you probably want to grab the Nene ahead of the time if you expect it’ll be necessary, rather than waiting until the finishing turn to make that decision. There’s also the potential to use the cigarettes event and either mill 3 off that or grab a brainstorm and try to use that to get a level 3, but of course that’s not necessarily reliable or efficient. The fumio being built into the finisher combo is pretty nice in that respect, I suppose, since that means you’ll generally already have that option available without needing additional sculpting.
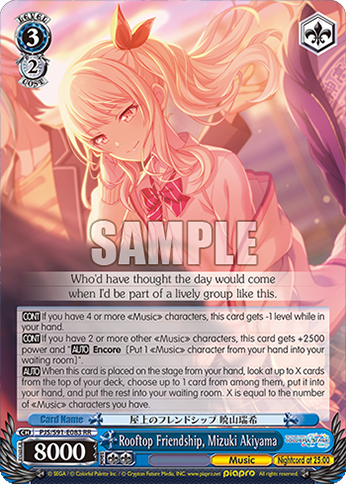
The Mizuki EP is generally a good card, and in particular can dig for a climax or the 3/3 event. It does cost stock, though, so you want to be careful about playing it too much. It’s a 2-of to have a decent chance of seeing it by level 2 (but if you don’t see it, that’s not the worst).
Like most of the decks I build, this one has 3 rikis. This one being able to set color means that the cigarettes event being a different color from the level 1 combo isn’t too much of a downside. (You can even opt to level blue if you’re clocking to 1-0 and have the event in hand and a riki in waiting room, and then grab the riki with the event and use it to put green in clock, assuming of course that you have a green character in waiting room, or can get one into waiting room.)
The ditch-climax-salvage was a bit of a later addition, to potentially provide some extra selection, and/or help get rid of extra climaxes in hand. It’s also blue, which is nice because there aren’t any obvious level targets for blue.
The blink is primarily there for the power pump; I wanted at least one card that can pump power to an arbitrary lane without attacking, and the blink is a nice bonus.

Cards Not Included
I didn’t opt to include the bouncer, since it doesn’t really do anything else, and it’s a level 3 character that costs 2 stock. But depending on the meta, it may still be worth it.
I also didn’t include any healers; I guess there’s only one EP healer in the set anyway, which requires 2 or fewer climaxes in the waiting room, meaning it’s hard to just use it when you need it, particularly when your primary form of selection is a brainstorm. And if you’re stuck at 3-6 about to refresh, you can potentially still do a decent amount of damage if you can get 1 attack off, at least. There’s also the off-finisher moca that heals, but that feels weird when the level 3 combo is also a moca.

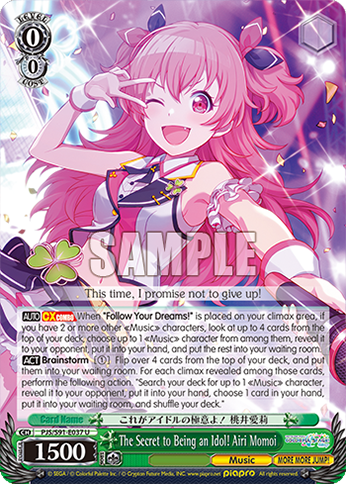
I touched on this above, but I didn’t go for the more popular Airi level 0 combo as the plussing combo.
I’m not a big fan of that combo in general: it’s neither a great front-row card (not being likely to take out level 1 combos) nor a great back-row card (being a non-plussing brainstorm); and you need multiple of it for the combo to plus you, so you need to either have at least one in the front or give up on having anything else in the back row. It also doesn’t have the built-in ditch outlet that Minori has, and you have to decide how much to mill before all of your attacks.
I might be more inclined to run it if there were good level 1s to attack with (though even then, you can end up having to decide whether to select into a combo or an attacker), but there aren’t. It’s perhaps not as bad as I’d initially thought — the shimakai can likely let you take out 2 level 1 combos — but it’s still not especially good.
I’m not sure why I didn’t include the climax swap; it would likely be a good addition, honestly. Perhaps I just figured that there was enough ability to find the level 1 climax already, and the level 3 climax isn’t super important for the finishing turn.
Closing Thoughts
I don’t think this deck is going to be super competitive in the current meta — it’s a few years old, after all — and I don’t even know if it’s the best you can do with the set, but I do think it’s a solid deck that can do perfectly fine. Mostly, I’m just throwing it out there as an option for people looking to pick up this set because they like Project Sekai — and if you’re mostly in it for Hatsune Miku herself, this deck does have the benefit of running her finisher combo (even if that’s not quite the primary focus).

Leave a comment