Doing some BanG Dream deckbuilding with the new MyGO & Ave Mujica cards. Like my previous Oshi no Ko post, I’m thinking I’ll split this into multiple parts; in this case, just building one deck at a time and posting them as I finish them.
For cards from the new set, you can find translations on Weiss Tea Time, as usual. I also mention a couple protein bar promos that don’t exist in EN; I’m not sure if there’s a good place to link for translations of those, so I just linked the images to cards in other sets with the same text.
Table of Contents
Finisher
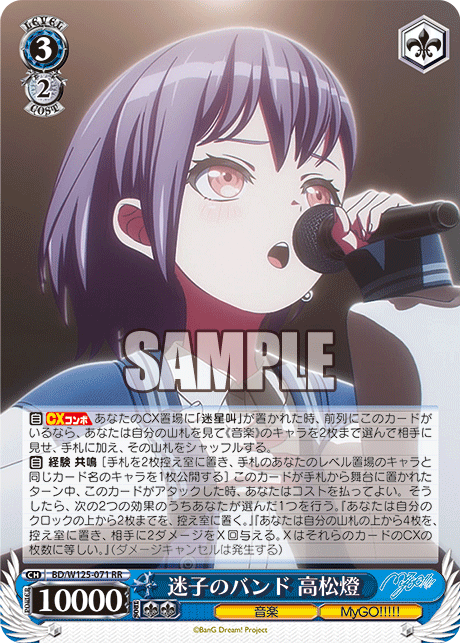
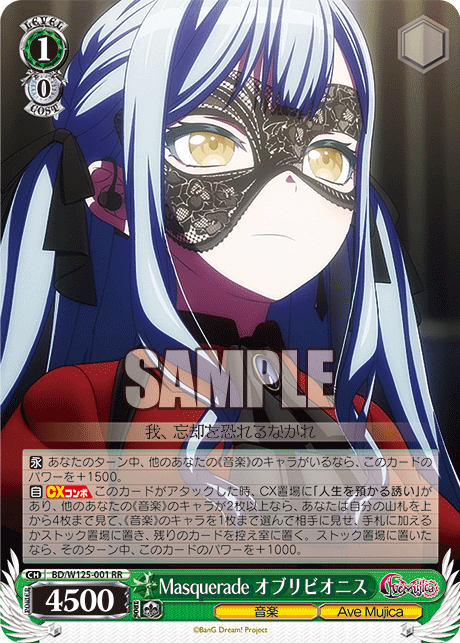
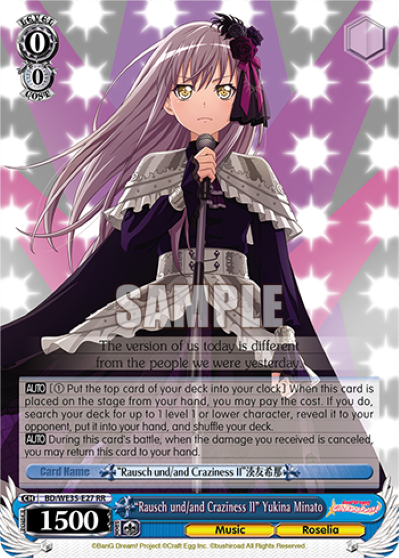
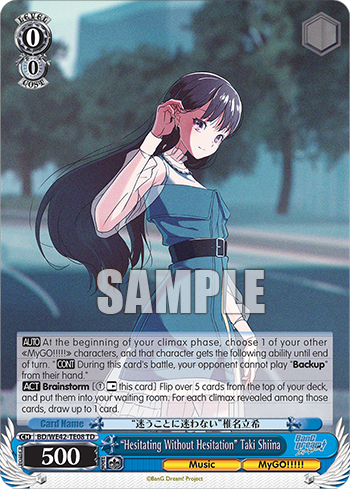
This first deck will be based around the RR Tomori finisher, since it seems potentially very powerful; it’s hard to tell how powerful exactly, though, since it relies on milling climaxes.
Notably, there are a lot of ways to help it find climaxes; it probably becomes a question of which ones to include:
- Soyo brainstorm: this is an obvious one because, well, it’s also a brainstorm; it’s something that you already want sitting on stage. The fact that this exists pretty much precludes anything else that needs to be on stage during the finishing turn to help.

- New 2/0 event: this one both gives a top check and (if you get a reverse) pulls a character out of the deck; it does cost a hand up front, though. It also has a bonder, which basically pulls an extra card out of the deck on top of that (and notably an event rather than a character); but if you’re using it on your finishing turn, it also costs an extra hand, so I’m somewhat doubtful that it’s worth it.


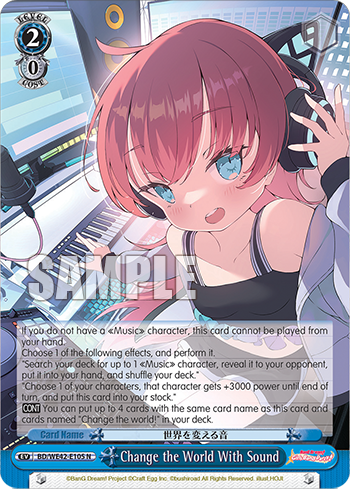
- Old 2/0 event (Change the World): provides efficient main-phase selection that also pulls a character out of deck. You can run up to 8 of them, but likely don’t have room.

- Quadruple foolish burial: somewhat expensive at 2 stock and 1 hand, but pulling 4 characters out of your deck seems pretty powerful. They all have to be MyGO trait, though; I’m not sure how much of the deck that will end up being.

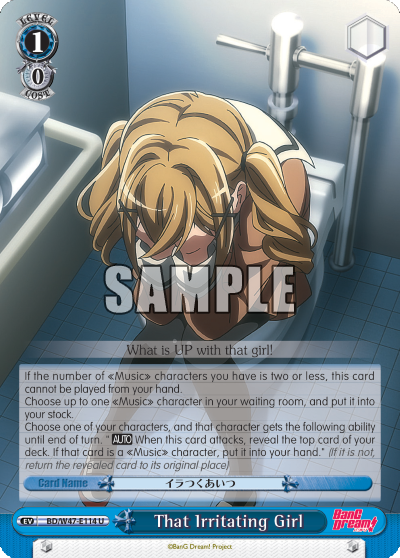
- Toilet: provides an extra on-attack check while also converting hand to stock (which should generally be good for this finisher). However, it seems likely that you’ll often end up with a deck full of climaxes and events, so I’m a bit doubtful about how useful it’ll be. On the other hand, it also seems likely that you’ll often want to freefresh (either because you don’t have many climaxes left in deck, or because you don’t have enough characters left in deck to get hand for the burns) or just naturally be in a new deck, where you’re plenty likely to see a character on top.

- Rinko brainstorm: perhaps better than Soyo brainstorm in the case where you’re going into the finisher with a deck of up to 15 cards with most of your climaxes in it, and you’re primarily concerned with not triggering, rather than with digging for climaxes on the mills. Mostly worse than Soyo brainstorm the rest of the time, though, including the rest of the game leading up to the finishing turn; still, there could be an argument for a split.

- Assist that gives an on-reverse scry: doesn’t need to stay on stage, so can be done alongside the brainstorm; still, probably not worth playing over the new 2/0 event.
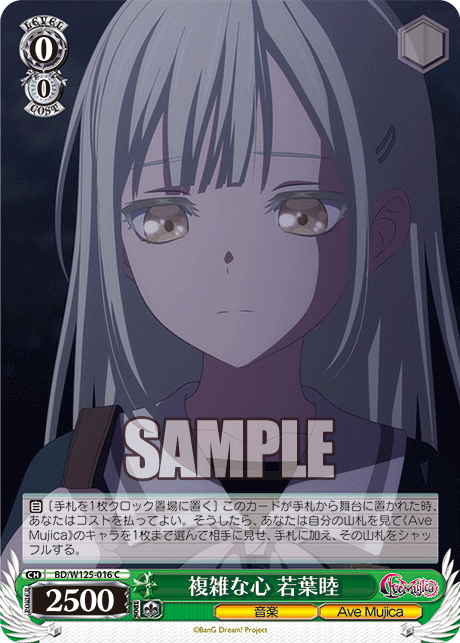
- Freefresh: a bit different from the others in that it’s generally not adding a slight extra chance of hitting, so much as providing a failsafe if you end up with a very uncompressed deck, letting you reset it and hope to hit in the new deck.

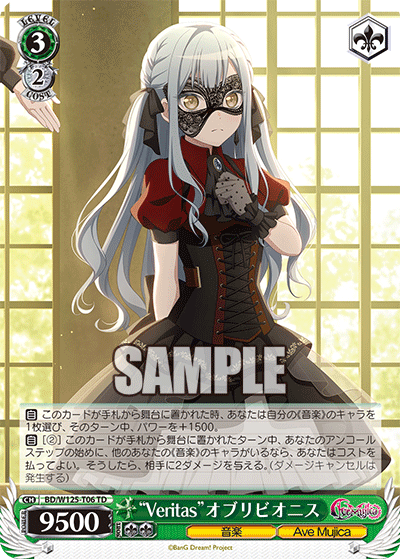
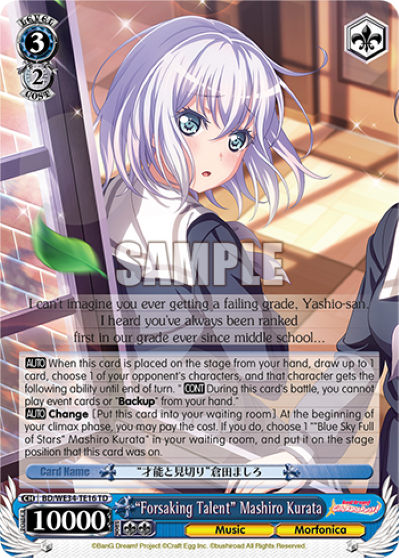
Level 1 Combo
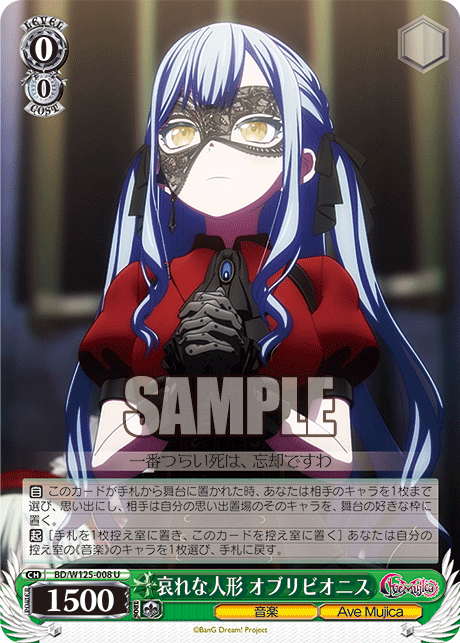
For the level 1 combo, I want something that’s loopable and good at building compression, and I’m thinking that the Oblivionis combo is the way to go there: because it has a changer, you can aim to repeatedly triple it (without the issue with oboro-style combos where they don’t benefit you on the turn before your finishing turn or if you have to crash), and it has a built-in way to avoid running into the hand limit, by being able to get stock instead. It also has a ton of built-in mill potential, letting you speed through first deck (or if you end up out a bunch right after refresh). And it’s on a bar, which should make it quite easy to loop the climax (especially combined with the level 3 climax being a pants); you don’t want to trigger too much with that climax lineup, but the brainstorm helps with that. There’s a risk of burying a climax deep in stock without realizing it, though on the other hand, if you trigger a bar on your finishing turn right before refresh, you can at least ditch it with the combo and have a chance of hitting it on a post-refresh mill.
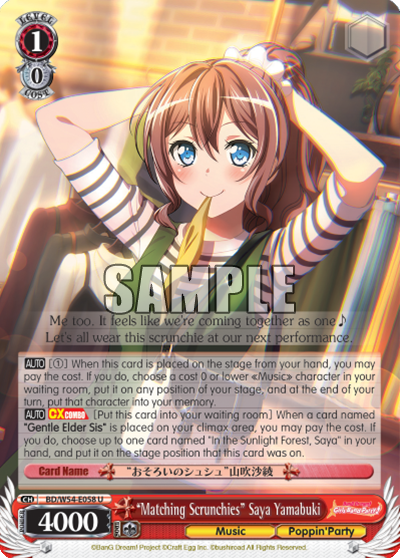
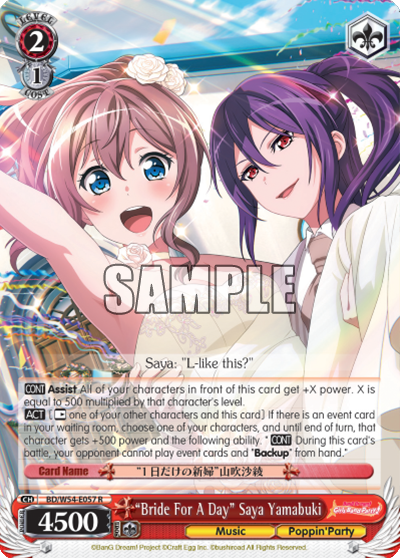
This combo likely wants to run additional characters (beyond the changer) that can help loop the combo, to increase the chance of finding any one of them (or the combo itself) off the combo; but then it might run into the awkward position of not having room on the stage to actually play them. I’m particularly thinking of the Saya that can summon a cost 0 (which has a cool interaction with this combo in that you can choose whether or not it’ll go to memory depending on whether you summon the combo itself or the changer), though that is also potentially awkward with color, since the deck seems to be mostly green/blue (though the brainstorm is red, at least). The helmet is likely one of the best options here, since it doesn’t take up stage space (and it also serves as a ditch outlet for climaxes), but it’s not actually any more efficient than Saya. Perhaps it makes the most sense to lean into the brainstorm as the way to loop the combo, and run 4 of the Kanon that can go to stock to support that stock usage (which you probably want to do anyway, since the finisher needs hardly any extra hand if you can get characters from deck with its combo, so you can potentially use Kanon and/or the Change the World event to do it on low stock).
Alarms might be a good option here (and are all conveniently on-color):
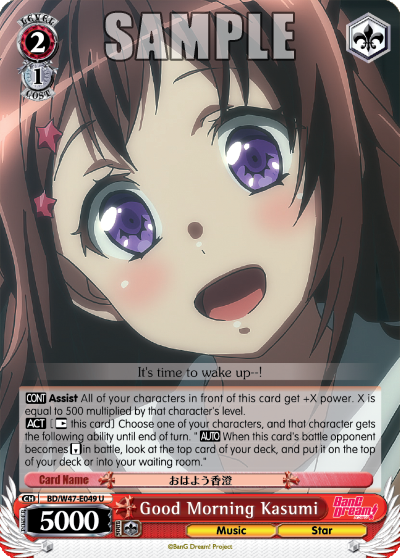
- 2/1 Himari: the go-to alarm because it’s just free stock; notably, the level 0 Kanon can help you ensure you don’t blindstock a climax.
- Event koume: this seems nice since a lot of the cards you want for the finishing turn are events. The other ability probably isn’t very useful in this deck, but it’s still a level 0 character.
- Encore giver: this can help loop the combo, so long as you don’t refresh or take damage before the opponent’s climax phase.


- Salvage/drop: these can help make up for the relatively low selection of the combo and can ditch extra climaxes, though the timing is awkward. I’d probably go for the level 0 over the level 2 just because it’s a playable character at level 0, even though it has a board condition while the level 2 one doesn’t.
- Swapper: can serve as extra copies of a climax-phase alarm, and I guess can save a combo if the opponent attacks it with a 4.5k-5.5k character.
- Draw 2 drop 2: can draw into events or climaxes, or ditch extra ones. I suppose if Kanon reveals the climax you want, you can know that you’ll be able to play it, rather than having to gamble, but you have to have already clocked the alarm at that point.
- Climax swap: a climax swap that doesn’t take any board space; I doubt it’s worth it, though, since you have to have it in hand ahead of time in order to clock it.
Version 1
So let’s try to get an idea of how much room there actually is in this deck. Obviously we want 4 of each combo, and 4 of the changer to the level 1 combo, and 4 of the brainstorm. The Kanon that goes to stock is probably at least a 3-of, and the helmet at least a 2-of. The freefresh could potentially be a 1-of, but it’s important enough that it should probably be a 2-of to ensure it doesn’t get lost. The 2/0 search event feels like a 4-of to me, but maybe it could be just a 3-of, since it’s not useful before level 2 and it’s not reliable to just hold onto a hand full of them since the cards you want may not be in deck. The other 2/0 event is probably a 3-of as well; there are diminishing returns on additional copies, since even if a combo has multiple of that topcheck ability, once you see a climax you can’t dig further without risking hitting another climax and losing it (unless you know it’s the last climax and you’re digging towards refresh). It might be nice to play 1 or 2 of this event at level 2 rather than holding them for level 3, though, since that also lets you take advantage of the on-reverse search, and it lets the level 1 combo swing at 9k-11k.
Even with just 3 of each 2/0 event, once you add in 2 buns, 3 rikis, and a climax swap, that’s already 35 non-climaxes (of which 13 are level 0s); there are only 7 slots left, most of which should probably be level 0s. So I’m thinking that’ll be 2 of the level 0 salvage/drop alarm, 2 of the event koume alarm, and 3 plussing 0s (by which I really mean 3 more rikis). I guess that means there’s no bouncer or anti-backup/event or EP healer; those might be good techs to try to find room for later. Oh, there’s also the bonder to the finisher; that could be nice if it feels difficult to get triple, and it’s a reasonable attacker at level 0, but I’ll start off without it.
Since otherwise the only red here is buns and the brainstorm, I’m thinking this deck should run the Soyo riki. (Perhaps there’s an argument for running a different decompression tool so as to not need red? Which pretty much means the fumio, I guess. But buns is probably powerful enough to be worth it.) My thought is 3 of that and 3 of the Moca on-death riki, so the level 0 game pretty much entirely consists of riki’ing for the level 1s. I like the Moca riki’s ability to attack turn 1, but still want to play a normal on-play riki because it’s less susceptible to counterplay and better if you don’t draw it until your level 1 turn.

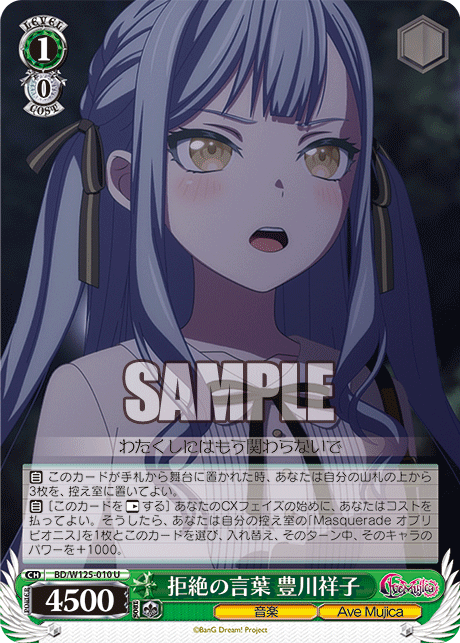
I’m thinking the climax swap should be the sac climax swap, since the level 3 combo needs hand more than stock. (And I suppose if you can’t afford the hand, you can potentially sac a riki and pull another character out of deck.)

As for the name for this deck… well, it’s definitely based around the RR Tomori finisher, and aiming to get as compressed as possible on the final turn, and do a bunch of burn 2s… hmm, the Tomori is called “Maigo no Band”; maybe I’ll just put “burn” in the “band” there: 「迷子のバーンド」. Does that work? Maybe it’s not very clear. Does “Maigo no Burnd” work better? I guess honestly, it just sounds like “burned”… “Maigo no Burn Two”? I don’t know, I’m not feeling it. OK, the climax is a song name, 「迷星叫」 (translated as “Song of the Lost Star” on Wikipedia); maybe I could try to make a name like that? “Song of Burn Twos”, written 「二炎叫」? Though I think 炎 is used to refer to the shot trigger, so I’ll use 火 instead. (Maybe there’s a better character for “burn”, I don’t know.) 「二火叫」? Though I feel like it should look more complicated… I guess I could use 弐 instead of 二: 「弐火叫」. I’m also not sure whether I should put the 弐 or the 火 first; I think Japanese people tend to say “two burn” rather than “burn two”, but maybe this way around it just looks like “two fires”. I guess really, if I don’t know then I might as well go with the ordering that matches the English “burn two”: 「火弐叫」.
Deck Log: 3394E
EncoreDecks: bu3QQ6zdS

Version 2
OK, after trying this out a few times on the sim, it does feel like it’s pretty good at looping the combo and compressing for the finisher, but the level 0 game has pretty low power lines, and the deck doesn’t have much that it can do when it doesn’t have a climax after clocking (though the fact that the finisher doesn’t technically need the climax is pretty nice). One sort of awkward thing is that the only blue cards I’m really okay with levelling are the events, but those don’t work for the resonate condition; that still leaves 2 other options though, so it’s not a particularly big deal (but it does mean you probably don’t want to level buns even if you have the other copy in hand). Perhaps the main drawback is just that I tend not to have blue at level 2 to be able to play those events if it comes up.
I haven’t had a game that’s gone through the whole finishing turn yet, but in the games I did have, I ended up expecting to refresh on the finishing turn, which makes me think it might be good to run the Rinko brainstorm after all. Though I also just realized that in terms of maximizing the number of burn 2s, just adding the TD Oblivionis in the back row might be one of the better options. So I might just cut the new 2/0 event for one of those (maybe bumping up the old 2/0 event to 4, though; that one is more about utility, and also has the benefit of letting you look at your deck on your finishing turn and confirm whether or not you can get enough hand and meet the resonate condition, and whether you blindstocked any climaxes; particularly relevant if you got stockswapped/stockshuffled).
I’m thinking I’ll replace the event koume alarm with the fuka; overall it’s not too important to get the 2/0 events to hand, and you potentially want the ability to dig for the stockswap on the finishing turn, if necessary. The fuka can also help set up for the level 1 combo as an attacker at level 0.
In general, I didn’t feel like the alarms were super necessary, so I think I’d prefer to have better attackers at level 0. Maybe the Pareo cleancut; there are a decent number of good targets. Or maybe the Amoris zero-two? That has an interesting interaction with the Moca riki & the fuka, where you can sac them to avoid bombs or (with the riki) pay out something that you either don’t want in stock or do want in clock; on the other hand, it forces you to decide what to grab (or whether to use the ability at all) earlier, so it’s not something I’d default to doing. It also means that if you whiff on a climax or event, that’ll still be on top when you use the on-death ability of the card you sac’d. So you could skip the ability if you see a climax that you want to trigger, or know that you have a target for the fuka if you see an event.


I’d also like to work in the ruijerd for Ave Mujica characters, since it’s nice to be able to clock yourself up from 0-5 with 1 stock (or 2-5, but you can use the hand-to-stock cards there). That’s probably a 2-of; I can maybe cut the on-play riki down to 2 to make room, since there’s a lot of overlap in functionality there. It’s a bit awkward that it can’t search the other rikis or the finisher combo, but it can at least search the helmet and the TD Oblivionis.
That’s also a point for the Amoris over the Pareo cleancut (or maybe for the Oblivionis cleancut, though that only swings at 2.5k), that it’s searchable off the ruijerd if you want to use that to get another attacker. I was also thinking I could cut one of the level 0 Kanons if I’m bumping the Change the World event up to 4, so that (along with cutting the salvage/drop alarm) leaves fewer targets for the cleancut; with that in mind, I’m thinking I’ll go for the Amoris. That also has bonus text that locks an opponent’s character in place (which honestly makes it potentially good to run alongside a cleancut, though at that point you’re leaving at least 2 direct lanes, which doesn’t feel great). It’s a bit worrying with 6 events, meaning over a quarter of the deck is whiffs, but that’s still notably better than a coinflip. And with the Amoris being red, that also lets me swap the on-play riki to the blue Yukina one.

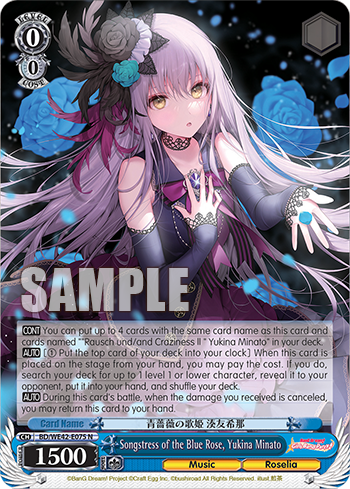
Hmm, one minor thing that I just realized: while a number of cards have reprints with the same effect (e.g. from the Countdown Collection, or various promos), in this deck you specifically want to run all the same version rather than a split, because of the finisher’s resonate requirement. (Well, the characters, at least.)
Deck Log: 2CV02
EncoreDecks: JgXLDNlK_
Version 3
One tech card I’d sort of like to add is the Yuri/Ran that can stick a climax into the opponent’s stock; even without a fumio, that can be helpful if the opponent is close to refreshing naturally. The other ability can grab a green character out of clock, which is actually fairly relevant in this deck, with the level 1 combo and its changer both being green; I also had a couple games where the TD Oblivionis got stuck in clock at level 3.
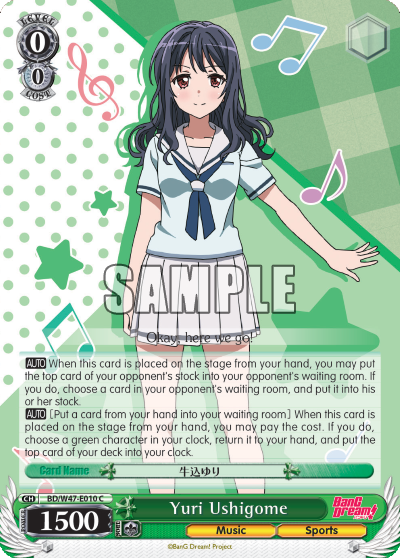

After trying it out a bit, one other nice thing that I noticed about this card is that it can be an efficient ditch outlet for climaxes, which is nice when you don’t have triple combo and do actually want an attacker (or when you want a body to sac for the climax swap, I suppose).
So this is quite a small change, just swapping out the fuka for the Yuri, since that’s the card that I’d felt was the least impactful, and this can fill a similar role as a level 0 attacker that can maybe help you select into your level 1 pieces. I suppose there’s no longer a way to dig for events (particularly stockswap), but I’m kind of doubtful that the fuka would be that helpful in the situations where you need it and don’t have it.
Deck Log: 3QGMY
EncoreDecks: cG78650J9

Version 4
Another small change. While thinking about options for cards to cut, I found room for the EP healer. I think EP healers are generally a good option to have for times when you don’t feel confident about being able to go for the finish but you’re also dangerously close to level 3 (and in particular, if your opponent is trying to trap you at level 2), and this set has an especially good one, a full-field-condition EP that effectively always only costs 1 stock (and doesn’t require color, though that’s not relevant in this deck). It doesn’t have a soul trigger, though; and I suppose this deck has quite a low soul trigger count in general (though not quite as low as it could have been on account of the finisher being on pants).

I put this in as a 2-of, to keep the possibility of efficiently healing twice open (using the Kanon to fulfill the full field condition), and to just generally have it more likely to be available. To make room, I cut the second copy of the freefresh; that didn’t seem to be as important as I’d thought it was, since if you have an uncompressed deck you can potentially get through a lot of it just with the searches, or by milling with the changer to the level 1 combo or spending stock to brainstorm. Even if the freefresh would likely be better, you can probably still manage to have some sort of finishing turn. I also cut the second copy of the Yuri; I mostly just had 2 of that because it replaced the fuka, which was a 2-of, though I did kind of like it at 2 because it’s fairly useful during the early- & mid-game.
Deck Log: 2G6AW
EncoreDecks: 7rg3d9QeS
More Tech Options
Right now, this deck doesn’t have much ability to deal with opposing boards or defensive tools (unless they’re vulnerable to blink or being trapped in the back). Some options (focusing on characters that don’t require yellow, since this deck is green/blue/red and isn’t great at finding events on demand):
- Options to prevent backups (and events): Since the finisher is MyGO trait, you can use the TD brainstorm to prevent backups, though it does need to be on the board, so it’s competing for space with the Soyo brainstorm and the TD Oblivionis. The Saya assist doesn’t need to stay on stage and also prevents events, but costs an extra stock. There are also a couple level 3 characters, though they cost more stock and can be blocked by hexproof. You also tend not to want to draw on the finishing turn, because of the chance of taking a climax out of deck.


- Bouncers: A variety of options. I’m inclined towards the Sayo since it’s level 0 (it’s also a drop salvage, though in this deck can only get rikis); or else the double/triple bouncer (not available in EN) as a 1-card answer to defensive counters. The Mutsumi could be nice, since it can also be used to shrink opponent’s characters in the midgame (and I suppose if you see 3 clean on top with the check 3, you can potentially mill them with the changer for the level 1 combo); note that it’s not searchable off the ruijerd, since it has Crychic trait rather than Ave Mujica. The Yukina/Taki could be good if you expect to want to bounce stuff multiple turns in a row. The Rana isn’t especially useful on the finishing turn, but could be interesting in the midgame (though this deck doesn’t have much in the way of power pumps to help it get a reverse in the first place, and you don’t necessarily have blue at level 1). There’s also an Anon along the same lines; it’s a shrink rather than a bounce and red rather than blue, but it swings bigger. It also requires you to resonate with the finisher, which you may or may not have in hand early on, and sac a character, which probably means you don’t want to attack with it first.


- Anti-EP: The Doloris can singlehandedly neutralize two EPs, and the fact that this deck is running the Oblivionis level 1 combo also means that the first ability is live, so it’s a level 1 reverser that also makes the level 1 combo (and some of the other cards in the deck) a bit bigger. It does require you to have red, though (and to have a full board, though that shouldn’t be too much of a problem). There are a few notable adachis: the Mutsumi is free most of the time, while the Himari alarm can be used to generate stock when you don’t want to use it as an adachi; and the Rimi/Kasumi can potentially let you answer 2 lanes. There are a couple level 1 antichange counters (though one of them still lets the opponent get an attack), which could be nice, but the opponent can likely comfortably side your board, so these are probably more of a way to gain resources than to actually remove EPs.


I’m probably not going to put in any of these right now, but if I was, I’d probably look to replace the second copy of the EP healer; it’s not meant to be an every-game thing, and it can potentially be looped with the helmet or brainstorm if it comes down to it. The freefresh or the Yuri could be cut entirely, I suppose; I don’t think either is essential, even if they’re quite nice to have available. Beyond that, the 2/0 event or one of the clock-self level 0s could potentially be trimmed down. Perhaps the brainstorm could be cut down to 3, but I think games where you don’t see that by level 1 tend to feel notably worse. Besides just being the brainstorm, it’s also probably the deck’s best way to dig for a climax for next turn, by giving you more opportunities to trigger them.
Miscellaneous Gameplay Thoughts
One interesting question that occurred to me when thinking about how my games could have gone is: if you trigger a bar as the second-to-last card (with the last card being clean) on your finishing turn, with a finisher as the next attack, do you take the blind stock? If you do, you get rid of that known clean card, but if you don’t, you can drop the bar for the finisher’s cost and get it into refresh. Essentially, it’s a question of whether to mill one more card in a somewhat less compressed deck, or to mill one less card in a somewhat more compressed deck.
To get a general idea of how they compare, I used a hypergeometric calculator to calculate the chance of whiffing a mill for 3 in a 7/30 deck (43.6%), versus the chance of whiffing a mill for 4 in a 6/30 deck (38.8%). So that suggests that it’s better to take the blind stock. And even more so if that finisher has the topcheck ability from the brainstorm: the chance of whiffing a mill for 5 in a 6/30 deck is just 29.8%.
Speaking of the topcheck ability from the brainstorm, if I have 2 brainstorms, I tend to aim to use those topchecks on the first and last attacks: on the first attack to ensure I don’t trigger a climax (or at least a pants), and on the last attack to try to trigger a climax if I want one, or to allow a little bit more flexibility in milling. If you’ve found a good target off the combo and are deciding whether or not to continue milling, it can be helpful to have the topcheck ability still active: that way, if you mill down to 3 cards with 1 climax left, for example, then instead of just hoping you don’t trigger it and end 0 in 2, you can guarantee that you end either 1 in 2 or 0 in 1. If it’s a bar and you’re looking to trigger it, you can instead stop at 4 cards in deck, with the same effect.
If you have the option to either play the level 1 combo directly or play the changer and change into the level 1 combo, and you don’t need the extra power or mill, my thought is that it’s better to play the combo unless you don’t expect to have 3 combos in waiting room next turn (maybe you’re not planning to mill all the way through your deck, or you have to crash, or you just don’t have triple combo). In general, it’s better to hold onto the changer for next turn in case you find that you want the extra power or mill then, but that’s only relevant if there’s a combo in waiting room for it to change into (assuming you have the climax and are looking to do the combo). If you end up getting more changers before the next turn (by grabbing them off the combo, for example), you could run out of change targets; an additional changer beyond the number of combos in the waiting room doesn’t help you get the combo.
The finisher also has the option to heal 2 instead of doing the mill 4 burn 2 thing; I mostly ignore that, but it can be nice to have if you find yourself far behind in damage. One notable thing about that mode is that it makes the search from the combo actually meaningful, in that you can set yourself up for next turn because you actually expect to have a next turn. Most likely this is something you do with a single combo, maybe double if necessary, with the aim of preserving most of your stock for that next turn.
Closing Thoughts
I think this deck is quite powerful. From my initial testing, my impression is that you can fairly comfortably get 4-5 burn 2s on the finishing turn, with 6 not being unreasonable. While it doesn’t have any built-in counter to defensive tools, it’s also not especially susceptible to them (though I suppose a mill counter could be awkward); even a tap counter likely doesn’t remove too many instances of damage, since the last mill is often going into the uncompressed post-refresh deck, while the first mill or two are going through the super-compressed pre-refresh deck. It’s somewhat vulnerable to being stockswapped or just having a bad game, but even then it can likely pull out a few burns.
The midgame feels good too: you have quite a bit of deck control (though it’s not quite as good at turboing through first deck as it seems, because you often want to search for the level 1 combo rather than the changer because there isn’t a combo in waiting room and you can’t guarantee that one will be milled out), and there’s also some potential to snowball compression: in a compressed deck state, you can use the brainstorm to both take advantage of that compression (by brainstorming), and guard against it turning on you (by controlling your triggers), while looping the combo and generating clean stock once you start running into the hand limit. And with the Amoris level 0, the deck at least has something to do on turns without a climax. And while there’s nothing that particularly deals with big boards as such, you’re often triple comboing with at least one lane swinging at 8k, so you don’t tend to give the opponent freebies, and you can randomly counter (or at least annoy) some decks by trapping characters in place or blinking them.
This deck also just feels like my type of deck, honestly: looping a combo and (potentially) milling through your deck each turn while building up to an explosive finisher. It’s a bit awkward not having a check 3 brainstorm or much access to events, and you do have to kind of hoard your finishers in hand (especially since you tend not to want to brainstorm on your finishing turn), but it does hit a lot of the things I’ve come to look for in a deck. So I might be a bit biased because it fits into my comfort zone, but I think this deck has quite a bit of potential.

Leave a reply to Alvin ARX-7 Cancel reply