My team just got 4th place at BSF Duluth, so I figured I’d make a quick post about the deck I played, namely Bang Dream with Sayo pants into Anon + Tomori door. I went 5-4 personally (as did my teammates), so I’m not going to claim that this is some crazy super-deck that people playing more meta lists are missing out on, but it’s another option that the set has, and it has its own strengths (most notably the ability to more or less ignore defensive counters, which is something the Doloris topend in particular can struggle with).
Table of Contents
Deck List

Deck Log: 5TE1A
The core of the deck is the same as what I came up with in a previous blog post, so I’m not going to go over that again, just talk a bit about the changes I made since then and my experience in the tournament.
Changes Made
One change that I didn’t realize I’d made until I read back over that post is that I’ve ended up doing the opposite thing with the top check ability from the Soyo brainstorm.
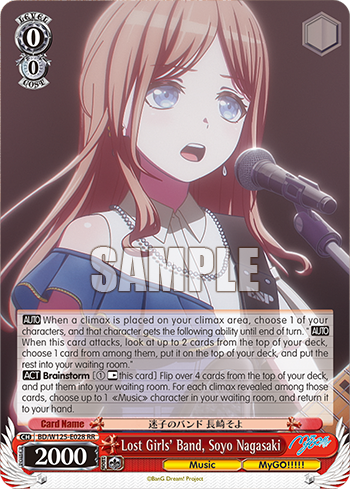
Recently, I’ve defaulted to using it on the first attack (or the first blind stock) to confirm that it’s not a climax, rather than on the last attack to try to trigger a climax if necessary. Perhaps I haven’t had as much trouble getting climaxes to hand recently, or perhaps I’m just more comfortable taking a turn where I attack without a climax (either keeping the level 1 combos in hand for next turn, or just using them as attackers and accepting that I probably won’t combo next turn; likely relying more on the brainstorms to maintain hand).
There were a few other things I’d forgotten about as well, like the option to not clock kick the first character if you don’t want either Tomori to direct; I’m not sure if it would have ever come up in my games, but it feels a bit weird to learn something from my past self.
As far as the actual decklist goes, the main thing I did was put in the warehouse events; that’s something I’d discussed in that post but didn’t end up doing initially. I felt like I had trouble getting the combo consistently, especially compared to my other deck with the Oblivionis level 1. Honestly, it’s possible that it’s better to just run Oblivionis in this deck, but the fact that it’s off-color and doesn’t have a built-in way to deny crashes has made me hesitant to try it. Instead, I put in another level 1 card that can mill 3 and turn into my level 1 combo (though it’s admittedly in a different color, which can sometimes be awkward). It can also serve as an extra bit of selection for other stuff as well; particularly level 0s, but in combination with the helmet, it can be a reliable way to get level 3s as well.


With more events in the deck (and particularly ones that can potentially turn into the level 1 combo), I swapped back to the Rimi riki from the aqua riki.


The warehouse event itself replaced the alarm and the chiyuri as an efficient source of deckspeed (which Rimi also helps with a bit).


I also cut that down to 3 cards, and cut the riko (which is nice but not super important), to make room for a couple tech cards.

The first tech card I added was the on-play burn 1 from the original trial deck.

I felt like it was nice to have an off-finisher option for either the case where I have extra resources and want a bit more reach, or the case where the opponent was able to leave multiple empty lanes and a second Tomori doesn’t seem that good. The TD Oblivionis is another option for that slot, and I initially wanted to have both, but ended up only having space for one.

The reason I went for Kasumi over Oblivionis is for the case where the opponent has 1 card left in deck and a lot of clean stock: while you could just stockswap them and make them refresh with a fairly uncompressed deck consisting of their waiting room + stock, a burn 1 could make them refresh first, letting you put most or all of their compressed waiting room into stock, so they end up with a deck that’s mostly or completely composed of what used to be their stock. So instead of merely having a chance of dealing a lot of damage, you can instead be highly likely to do so, if not outright guaranteed. (I haven’t yet actually been able to do that, admittedly, but I like keeping that possibility open.)
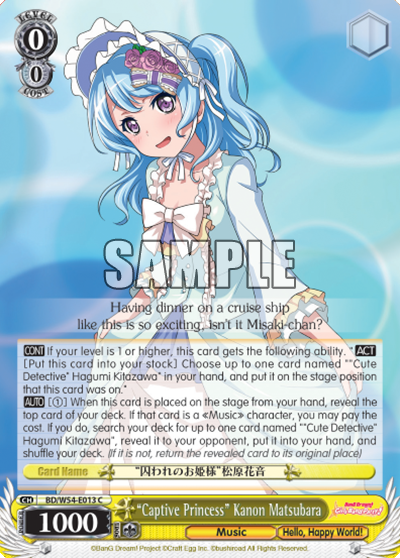
Kasumi is also one stock cheaper than Oblivionis (since you normally only end with 1 stock at the beginning of the encore step), and doesn’t require you to have green even at level 3, but only does 1 damage rather than 2, and has a decent chance of whiffing (that did happen to me in the tournament, though it was in a situation where it didn’t particularly matter). You can potentially use the Kanon to confirm the top card of your deck (and use, say, Anon or a brainstorm or the warehouse event to change it if necessary), though of course there’s no guarantee that you’ll be in a position to do that.
The other tech card is also a Kasumi; this one can prevent one of the opponent’s characters from going to hand or memory.

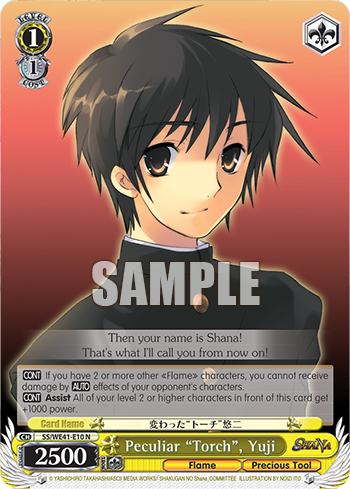
At one point I’d added a bouncer, and then later I looked at it and couldn’t remember why it was there — this deck doesn’t care about Yuji or Modernia, the main things you’d normally want to bounce.

Eventually I realized that it was probably there in case my opponent put a shinobu in the back or something, to let them deny a reverse without needing to play any sort of counter.


So instead of the bouncer, I found the Kasumi above, which doesn’t cost any stock. It’s possible that it only prevents one lane from denying a reverse, rather than all of them, but on the other hand it also works against stuff like bounceback combos like the one this deck itself is running. And it’s likely not too difficult to just play it multiple times if necessary, so long as you don’t need too much selection elsewhere.
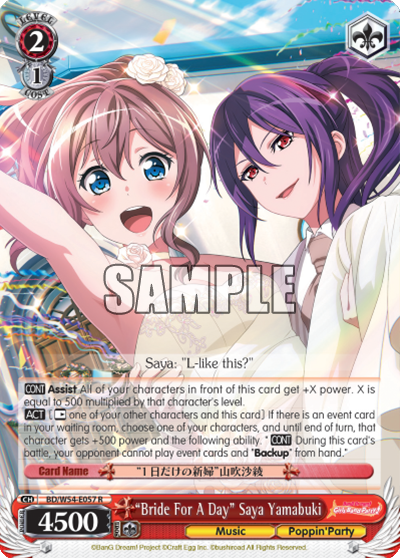
I didn’t end up seeing any reverse denial like this in the tournament, but I was able to use this card against a Modernia when I wasn’t able to access the Saya assist, so even though I couldn’t deny the event counter outright, I could still prevent it from being a tap counter.

Tournament Experience and Rounds
In the tournament, the deck felt decent; I was almost always able to do double finisher combo, though how much else I could do varied quite a bit. I didn’t end up using the decompression tools as much as I expected: I’m not sure if I ever use the fumio (maybe once?), and the stockswap only seemed really impactful in one game, as far as I can recall. (Though there was another game where I didn’t have it when I’d have liked it.)
I guess I’ll go through my rounds one by one:
Round 1
Lost vs 8 Standby Date A Live, going 2nd.
My deck does approximately nothing against their walls (they hardplayed 1/1s and standby’d a 2/2 or two to the front, so I don’t think I ever had an opportunity to trap something in the back… or actually, maybe I did trap a 2/2 that way? I don’t remember exactly), but I did have a turn of combo before they walled up and I started crashing.
I still felt pretty good about the game, though; I ended up going for the finisher when they were 2-6, so I only needed to stick 5 damage, but they did cancel enough. (We ran into time at the end of that turn, or technically shortly before, so I just conceded at that point, not realizing that my teammates had already won the match.)
I feel like my opponent got a bit lucky at the end there, but it’s always hard to tell that sort of thing without knowing the exact numbers; I don’t remember them being super uncompressed, at least. One downside of this finisher is definitely that it has a fairly low count of actual instances of damage, so a bit of luck can go a long way in letting the opponent survive.
Round 2
Won vs Bar/Pants Bang Dream, going 1st.
This is the game where the stockswap really came through, I think: it took them down to 2 cards in deck (which turned out to be clean), and then they refreshed 2, so I was easily able to kill from 2-3. Apparently they had 3 climaxes in hand at that point (after having just triggered a pants and a bar), so the deck wasn’t as crazy compressed as I’d thought, but the stockswap still must have taken out 3 climaxes.
They had hit me to 3-6 the previous turn, after playing their own stockswap (I don’t remember the details of that); this was a case where I was very glad to have a healer that I could grab.
Round 3
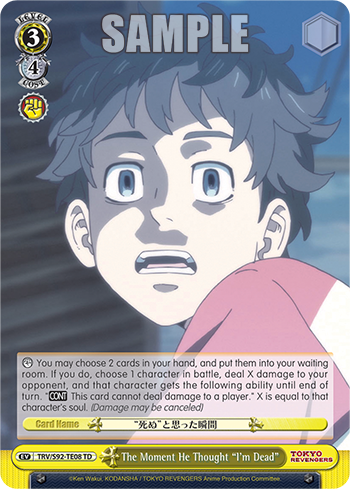
Won vs 8 Door Tokyo Revengers, going 2nd.
This is a really good matchup for me, since I could completely deny the money counter. Getting reverses on the Pah-chins might have been difficult, but they only had one Peh-yan. (And even with two, I’m pretty sure I would have made it in this case, because of the 2/0 event; three or more doesn’t help them either, since I could just clock kick any in the front row.)


That said, I believe they also just ate quite a bit of damage; they were already 3-3 or so when I went for the finisher. (I did use Yuri to remove a climax from their refresh at one point, but of course it’s hard to tell how much difference that made.) It might have been more difficult if I’d had to spend more turns crashing my board (with my level 1 combo just being on-attack blind stock at that point), but I still think it’s very much a favored matchup.
One funny thing about my deck, I suppose, is the gulf between how much it contests board on the finishing turn vs. before that: I feel reasonably confident about taking out pretty much any Pah-chin board on the finishing turn, but at one point earlier on, they ended up playing down a Pah-chin with no Peh-yans at all — which is to say a literal 8.5k vanilla — and it still survived.
Round 4
(Vs 2nd place.) Lost vs 8 Pants Frieren with the TD finisher, going 1st.
This game just felt pretty rough overall, and was the only one where I just didn’t have the ability to do double finisher combo. I don’t think I saw either the 2/0 event or the stockswap event all game; there was one point where they had about the same amount of stock and deck, and I probably would have stockswapped if I could have (I don’t think it would have been debilitating or anything, just taken out a few climaxes and maybe let me stick a bit more damage). At one point they backed up with the mill backup and happened to mill out 2 of my climaxes when I was already uncompressed, and then I believe I ate a bunch of damage; overall I felt like I was just playing from behind with limited resources.

Over the course of a tournament, you have to expect a bad game or two; this was mine, I suppose. (And unfortunately, my teammates weren’t able to cover for me this time, so this was our one loss in Swiss.) Of course, you can always work to minimize the chance or impact of a bad game; I suspect this is a game where I would have benefited from the built-in mill of the Oblivionis combo, for example, though it’s hard to say for sure.
Round 5
Lost vs 8 Door Quintuplets with the level 2 combo, going 2nd.
They hit level 1 first and were actually able to completely deny my combo’s bounceback (if I wanted to front) by fielding a level 1 reverser, the level 2 combo, and a level 1 card that could be backed up over my combo (I believe I saw them get a backup, as well, though I don’t remember precisely).


I’m not sure how much difference that made exactly, but it’s definitely a bit awkward to not get even one turn of hand from the combo. I ended up having to kill from low 2 (probably 2-3 or so), and they cancelled the first 4 attacks. Maybe I should have just not done the 5th attack at all and hoped to survive another turn, but I’d mostly given up at that point (and we were getting close to time). I suspect they could have clocked up anyway, though I’m not certain. I don’t remember the exact situation, but I don’t think I was able to significantly decompress them (they probably left a fresh deck or something, without too much stock). I definitely had a chance of sticking enough damage, but it likely wasn’t that high. This didn’t feel like a bad game to the extent that the previous one did; it’s more that I ended up behind in damage and wasn’t able to blow them out with the finisher, I suppose. Perhaps it’s an example of the limitations of the decompression tools that this deck has, as good as they may be (or perhaps it was a case where I didn’t have the resources to use them to their full extent, I don’t remember).
Round 6
(Vs 7th place.) Won vs Door/Bar Quintuplets (Itsuki level 1 into the exodia combo), going 2nd.
This was barely a game, honestly; my opponent’s deck just imploded. They clocked a climax 3 turns in a row, and at one point just had to pass at level 3. The corrollary to “you’re probably going to have a bad game or two during a tournament”, I suppose, is that sometimes you’re on the other side of that, and it’s your opponent who has the bad game.
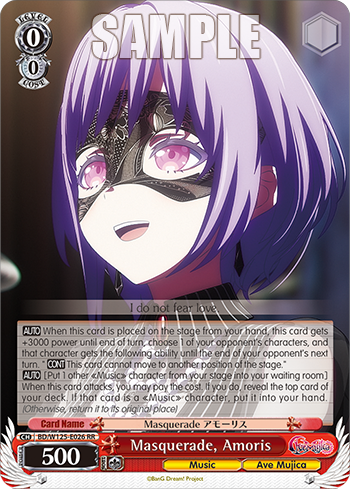
I did come close to making that game a bit easier on them by not taking out their level 1 combo, but I took the risk of fronting with a combo that I’d given the bounceback ability to. A different deck might have been able to take more advantage of their bad game, I suppose (the turn before they passed, for example, I’d tied with Amoris and sac’d one of my combos, with the other one getting the bounceback ability, meaning that I didn’t have any more characters survive than I was already expecting). Being able to cement a win when you’re ahead can be important, which is something that I don’t think this deck is great at (at least in the sense of avoiding randomly dying from level 2); and who knows, perhaps I could have seen more bad games from my opponents if I’d been able to put more pressure on them in general.
Top 8
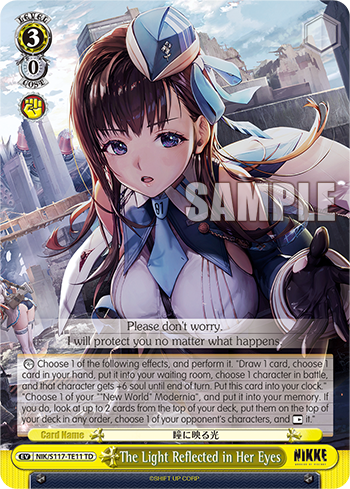
(Vs 5th place.) Won vs Door/Standby Nikke, going 2nd.
I ended up with a lot of resources and a lot of selection on my finishing turn, but they had Modernia on stage and my Saya assist was buried as the bottom card of stock (I could have 3-stocked an Amoris to pay it out the turn after I triggered it, I think, but opted to brainstorm instead).
I was almost able to pay it out and then use Kanon to have enough stock to play it and still do double combo, I believe, but then I realized that Anon would pay out the assist and then make me refresh immediately, so I wouldn’t be able to salvage it. So I ended up just using the level 1 Kasumi to prevent Modernia from going to memory, and they didn’t use the event to +6 soul a lane (though I believe they did have it).
I misplayed by forgetting to helmet for a Kanon before refresh, so I ended up with only one restand rather than two. I also stockswapped but forgot about a climax in stock (I’d thought they were 2 in 7 but they were actually 1 in 7, or something like that), so that might have been another misplay. But I believe the burn 1 Kasumi (which I’d just naturally drawn into at some point) pinged off a climax, and the single restand was enough to finish them off (I think they were 2-6 or so after refresh). So I wasn’t at my best that game, but made up for it with luck, I suppose.
This is a decent illustration of both one of the strengths of the deck — having the potential to fish out cards that are buried deep in stock, and being able to pivot fairly easily on the finishing turn — and one of the weaknesses of the deck, being fairly awkward if you’re too close to refresh on your finishing turn (or just refreshed).
Top 4
(Vs 1st place.) Lost vs Bar/Door Bang Dream, going 1st.
This was a rough game overall; I think I 3-stocked a level 0 early on, then ended up intentionally blind stocking a climax to keep a level 3 Anon from being buried as the 2nd card of stock.
I also misplayed by thinking that I could tie their combo at 4.5k with my own combo, not realizing that I actually did have two other Roselia characters (another combo that was crashing, and a riki that was directing). It didn’t end up mattering, though, since they took all the damage and were then able to riki to level 3 and kill me with double Doloris. (I cancelled all the attacks, including the first one where I was 0 in 2; I think I was already level 3 though, so could only have afforded to eat one attack.)

Perhaps I could have sided the last lane once they took the first two attacks, or something, to try to trap them at level 2, but I wasn’t thinking about that at all, and at any rate I didn’t want to make it easier for them to leave empty lanes going into my finishing turn. (This is a case where Sayo combo didn’t help me with that, I suppose, since I didn’t have the pants.)
3rd/4th Match
(Vs 3rd place.) Won vs 8 Standby Hololive, going 1st.
I started and ended my run against standby decks, I suppose; once again, I did basically nothing to contest their walls. At one point (the turn before my finishing turn), I only attacked twice, and then I almost died to vanilla swings (I think I would have if they hadn’t triggered a soul trigger on the last attack).
So it was a bit of a rough early game, but I was able to set up my finisher fine (including finding the door with the koume, and then healing to avoid dying to refresh). I don’t think they were especially compressed, and if I remember correctly they never got any Lunas out. They did get tap counter, but of course this deck easily denies that. (I actually pushed my draw brainstorm up and attacked with it, though, on that turn where I only attacked twice, so I had to get it back.)


They were 2-3, so I needed to stick 8 damage; luckily, I saw a soul trigger in the first attack (with the help of Soyo brainstorm), so I was able to swing for 4 on every attack, and they did end up taking two of them.
This is the game that best illustrates why this deck can be scary, I think: killing an opponent holding tap counter from 2-3 through 3 cancels is something that isn’t even on the radar for a lot of decks.
One thing that stands out to me here is that 3 out of my 5 wins involved me at least partially denying a defensive counter (Tokyo Revengers, Nikke, Hololive); that’s definitely a notable strength of the deck, particularly compared to other Bang Dream decks. Also in 3 out of my 5 wins, I killed from level 2 (Bang Dream Tomori, Nikke, Hololive); but on the other hand, 3 out of my 4 losses involved me failing to kill from level 2 (Date A Live, Frieren, Quints Itsuki). So I guess this deck falls solidly into the category of decks that wait until level 3 and then coinflip the game on their finisher. It removes some standard options that the opponent has for trying to affect that coinflip (defensive counters and massive stock compression), but also adds a less standard one (denying reverses, for example by not leaving reverse targets).
Potential Future Changes
I’m not sure if I’d change anything about this deck; the main thing that comes to mind, which I mentioned earlier, is testing out the Oblivionis combo, to hopefully have a bit better midgame and more built-in deckspeed.
That’d probably just be a matter of swapping out the warehouse events for the changer, and the Rimi riki for the Moca riki, and perhaps some or all of the Yukina riki for the Mutsumi ruijerd. I’d also probably want to bump the level 0 Amoris up to 4 copies, to maximize the chance of having them available when I’m expecting to go for the finish next turn.

A possible tech card is this Chisato that can grab stuff out of level:

Since this deck has two events that it wants to have access to on its finishing turn, it could be nice to have this as a bit of insurance for finding them; if they go into your clock, you can just level them to have them available for later. However, it feels a bit awkward that you end up reducing the chance of later drawing into them naturally (for example, off the draw 2 from the level 3 Anon), and you have to be confident that you will in fact be able to get the Chisato if necessary. You’re also committing to spending an extra hand and stock a decent amount of the time (though that’s not necessarily a problem). Really, I’d probably be more inclined to bump the stockswap up to 3, since that’s the main thing I’m worried about not finding. (Sometimes if you don’t have the 2/0 event, you can just select into all of the Anons anyway, though you do have to worry more about power.) Though Chisato being a character does work a bit better with the level 0 Amoris.
The deck could also use more deck access (outside of rikis I suppose); it’s often not a big deal, but it can certainly happen that a card you want isn’t available in the waiting room on your finishing turn because it’s in your deck. The Taki drop search comes to mind as a good option for that; if you end up with an extra climax in hand, it can also get you an additional sculpt.

If I’m looking for a bit more room in the deck, I’m not sure if I need 2 Kanons.
A lot of the time, you can put it into stock, pay it out, and grab it back if you need to use it multiple times. Now, only having one Kanon would mean that paying out the assist from the bottom of stock, playing it, and doing double combo would have been straight-up impossible, but I wasn’t able to do that anyway, and that’s a very niche scenario to begin with. So while having 2 Kanons is certainly nice, it’s not necessarily better than having another tech card. The fact that it’s level 0 can be useful, since some amount of the time you just end up playing it down as an attacker (or, if necessary, in the back row to avoid hand limit), though I did whiff the Rimi riki at least once, so there is a downside as well. (The deck currently has 18 level 0s, so I wouldn’t want to cut too many, but there’s still a bit of leeway there.)
Notably, if the stockswap and the fumio are put on the banlist like they were in the Japanese format (or if you want to run this deck in Japanese), this deck can likely run the Yukina stockswap.
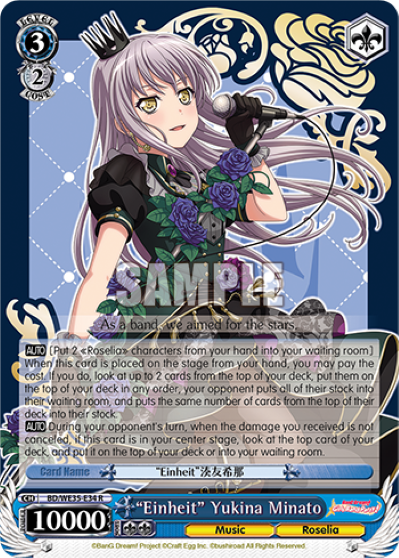
Depending on the situation, you might naturally end up with a couple level 1 combos in hand anyway (which are on-trait). Not needing to hold onto the stockswap all game could also be helpful, and there’d be a deck slot opened up for something else, since the Yukina stockswap being a character means that it can be fairly comfortably run as a 1-of.
On the other hand, the 2/1 event is very strong in its own right, being very cheap and able to be used at level 2, so it’s possible that it’d be better to just cut the fumio in that case. I’d definitely be worried about the possibility of the opponent presenting a compressed deck and minimal stock (or at least not nearly enough stock to go through the deck), though; this combo doesn’t do much to get the opponent to their next deck on its own.
That didn’t end up being a “quick post”, exactly — and really, I should have expected that — but there it is, my top 4 run in Duluth with a quite unusual deck. Hopefully it was interesting and/or helpful, whether you’re thinking of playing this deck yourself or were just curious what it is and how it works.

Leave a comment