I believe we know all the cards for the Girls Band Cry premium booster at this point, so I’m going to try to build some decks. (You can find translations for the cards on Weiss Tea Time.)
Table of Contents
Finishers & Initial Deck Concept Ideas
This set has 3 finishers: Nina + Momoka, Hina, and Tomo + Rupa. The Tomo + Rupa finisher is unfortunately pretty bad (it requires a lot of selection and maxes out at 6 attacks, just swinging big — though still being fairly vulnerable to memory kick — and healing). The main case I could see for running it (outside of just wanting to run Tomo/Rupa) would be in a deck that aims to open direct lanes and then stockswap into a bunch of swings for 4, but that kind of relies on the opponent leaving themself open to stockswap. There are also a couple off-climax finishers, but I don’t think they’re powerful enough on their own, and none of the finisher combos really benefit from them.


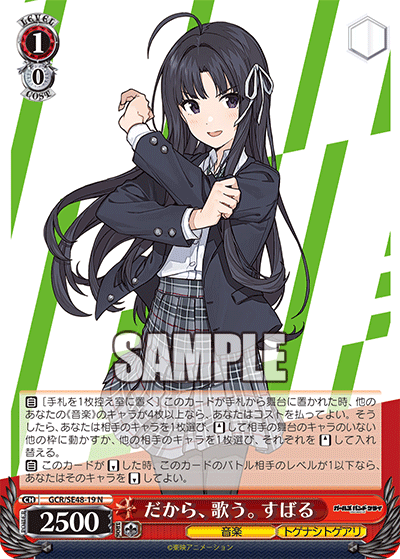
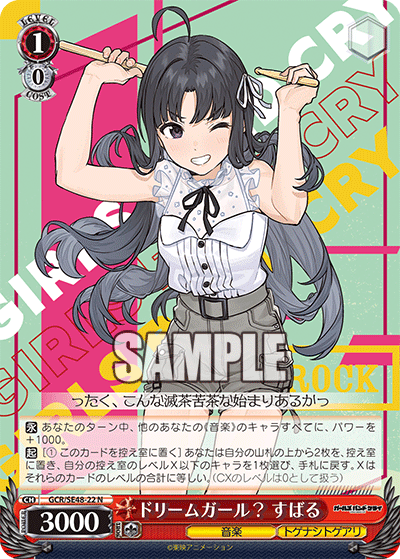
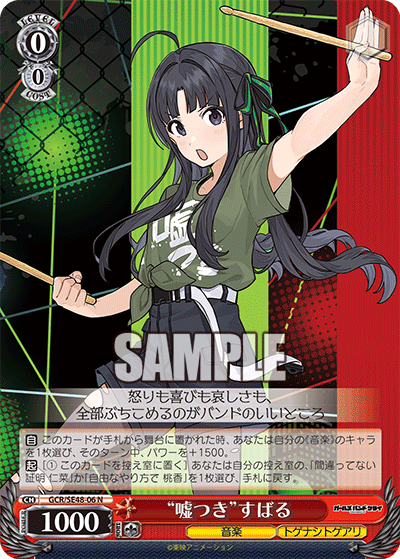
Right now I feel like there are basically 3 decks here: a deck trying to build resources for Nina to turn into burn 2s; a kind of generic deck using Hina topend, probably aiming to double EP or something at level 2; and an “anti” deck with stuff like the Subaru 2/0 combo that can remove backrow, the level 1 reverser that can move the opponent’s characters around, and the 1/1 assist that lets you bounce a character when you trigger a door (I’m not sure what the topend is there; it kind of feels like it should be Hina, as the cheapest finisher, but it also wants to run a decent amount of doors).


Advantage Combos
There are technically 5 advantage combos in the set, but realistically just 3 that I’d consider as a primary advantage combo. (The level 0 Rupa combo basically locks you out of having a backrow if you want it to be meaningful, and the 2/0 Subaru combo is likely best as a secondary combo alongside a level 1 combo, since it’s not available until level 2 and not guaranteed to get you cards.)
During reveals I thought the 2/1 EP Nina combo could be nice, but without a way to give it hand encore or something like that, or to make it especially big, it doesn’t seem particularly good, since if it doesn’t survive it only nets you 1 stock and a filter. There also aren’t any off-combo attackers that generate resources to run alongside it.

So it mostly comes down to the two 1/0 combos: the Momoka, on door, gives you a lot of selection and a built-in ditch outlet, but no deckspeed; whereas the Nana, on pants, gives you somewhat controllable deckspeed and clean stock, and sits at 6k cross-turn, but isn’t especially selective and requires experience for the power condition (and Momoka also potentially gets clean stock from the brainstorm). Another consideration when choosing which one to use is that Nana would really like to triple (or have the third attacker also be reasonably big; maybe the 1/1 7k hand encore), since a full field of 6ks means that one of them can randomly survive if the opponent isn’t able to find 3 level 1s of their own (or maybe the opponent has to play over a utility card or oversize level 0 that survived, for example); on the other hand, double Momoka probably still gets you all the selection you need, so you can easily put something else in the third lane.


Plussing Level 0s
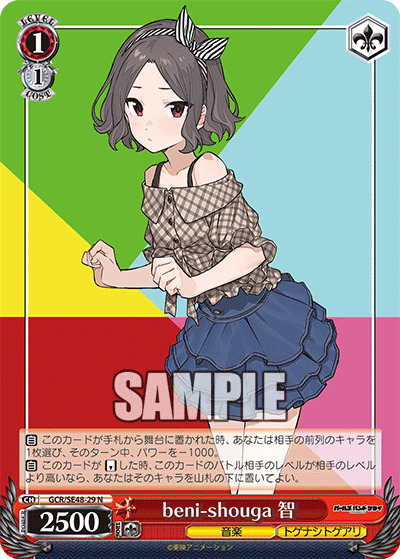
Hina riki: Being on-attack means you can play it turn 1 going 2nd, which lets it fill the “plussing 0” role more than a normal riki.
Nina cleancut/riki: A 3.5k cleancut is nice; you also have the option to salvage riki if you don’t have anything you want to cleancut, or do have something you want to salvage, or maybe just triggered a climax on that attack and want to pay it out. In the edge case where the opponent ends up tying at 1k or something, you could potentially cleancut on your turn and then salvage on the opponent’s turn.

Momoka level 0 summoner: A free plus that doesn’t require a reverse is nice, but it’s small. Also a nice utility card later on. Some synergy with the Rupa level 0 combo, since that clears out the back row if you have double, but still probably not worth actually playing that combo.

Momoka + Nina pair: Momoka searching out Nina gets you another attacker in the case where you just opened a bunch of higher-level characters rather than level 0s, and Nina is still a 3.5k on her own, so not the worst if you draw her without Momoka. Pretty good at killing stuff, including level 1 combos potentially. You have to decide whether to pay the stock to save Momoka immediately, though, potentially before you know whether you’ll be level 1 next turn or not; and if the Nina gets hard removed, you can’t save the Momoka at all.

4.5k Nina: Likely to survive if the opponent is still level 0 (and likely makes the opponent crash, as well), but doesn’t work if you trifield.
I’m leaning towards mostly playing the rikis as plussing level 0s; I’d maybe run the level 0 summoner or the Momoka+Nina with the Momoka level 1 combo, but not with the Nana, since they likely just get you an attacker rather than a card in hand. The 4.5k Nina seems pretty nice if you can open 2 of them, but that’s not very likely.
Other Useful Cards
Brainstorms: I’d default to the salvage brainstorm over the search, but in a deck with mostly pants, the 500 power pump from the search brainstorm might be nice.
There’s also the spammable check 3 brainstorm, which is nice if you need to dig for a climax, but not necessarily worth the stock.


Helmet, level 1 sac-self cigarettes, & sac-self bonds to combos(/EP): These provide selection without taking board slots. The helmet is the most generically good, I’d say, but the others could be nice if hand ends up being more of a limitation than stock, or for their various power pumps.


Subaru sac-to-draw: Can convert a card that you’re about to play over into a soul, or dig 1 card without taking up stage space. Can chain them if you have multiple, but likely not worth it to sculpt into multiple of them in the first place. Can grab it off the Rupa EP if you see something you want on top of deck.
Momoka check X: Important as the only way to clock yourself up during main phase; can dig for climaxes and is a decent level 0 attacker, as well.

Rize: A bit of deck speed and selection, and being a 1.5k power pump is also nice.

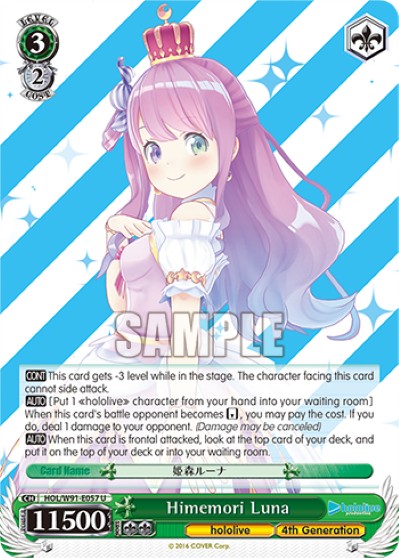
Double-timing drop salvage: Can provide a lot of selection if you have stock to spare (so perhaps nice with Hina finisher?); also happens to be a tech against Hololive’s Luna and maybe some random other stuff.

Climax swap: Of course. The mill 3 could be also helpful for Momoka level 1 in particular.

2/1 Tomo that gives something bounceback on front attack: Could be nice to give the bounceback to an EP, or just to itself; you probably want to give it to a level 2 or 3 character, to make it difficult for the opponent to side it (unless you’re expecting to have another turn at level 2). Though if you’re running Hina topend, it might represent a hand even if they side it, if you otherwise would have had to play something just as a sac target.
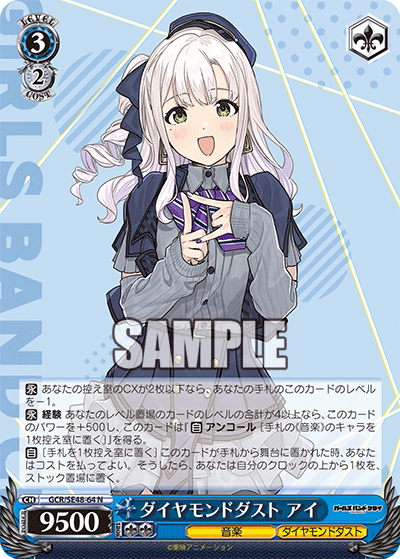
EPs: The Rupa EP seems a lot better than the Ai EP; it has both a better EP condition and a very nice secondary effect. It sits pretty small off-turn, though.
Stockswap: One of the advantages of this set is having true stockswap rather than stockshuffle and/or fumio. (There are certainly cases where those can be better than stockswap, but they don’t have the same potential to completely blow an opponent out of the water, assuming you can follow up with a decent amount of damage.)
Decks
“Anti” Deck
In addition to the cards I mentioned above, there are a few 2/1s that could go with this “anti” deck as well: the Rupa that stops something from standing, the Nina that turns 2 characters into adachis (though not hard removal), the Momoka level 2 reverser that can shrink something, and of course the antichange backup (though it’s less disruptive than most since it just sends the character back to their hand). There’s also the adachi that gives -1k to something in front row, and the blinker that also locks something in place.


Honestly, I don’t tend to aim to disrupt my opponent very much, so this isn’t really my type of deck; I’ll maybe just start small here, rather than trying to cram as much as I can in. Most of these cards I’ve listed only affect board-based decks; the main things that can affect stuff like brainstorms are the level 1 reverser and the 2/0 combo, so I’ll start with those. The bouncer assist doesn’t seem especially reliable, so I suspect it’d be better to run some other form of board hate and select into it as necessary; that means that we’re not limited to doors. Still, I’m probably going to go for the door level 1 combo here; you’d ideally like to triple the 2/0 combo, to maximize the chance of getting both hand and removal out of it, and it’d also be nice to play the level 1 reverser as a third lane during the level 1 combo turn. My only concern is that only having 2 pants could make it hard to find the right climaxes at the right time, but there are ways to dig for climaxes, and spending resources on climax swapping shouldn’t be too much of an issue.
Running Momoka level 1 combo means we need deckspeed, so I’ll put in some of the rize. I’m also thinking the other backrow could be the spammable check 3 brainstormer, to help dig for climaxes or just spend stock to get out of a bad deckstate if necessary. (Alongside the salvage brainstorm, which is the obvious thing to run with 6 doors… and come to think of it, can add a bit of deck speed and climax dig as well.)
So putting some counts on this and fleshing out the rest of the deck, it looks something like:
- 4× 2/0 combo: Want to triple combo.
- 2× level 1 reverser: Something you’re likely playing once or twice a game. Maybe bump it up to a 3-of to try to see it early and remove the opponent’s brainstorm on your first turn at level 1.
- 4× Hina level 3 combo: Want to triple combo.
- 4× Momoka level 1 combo: Want to at least double combo, at level 1.
- 3× rize: Want to open it and don’t mind seeing 2, but it isn’t that important.
- 3× salvage brainstorm: Extra copies can be nice, but you don’t really need them in hand; you’d just like to have one in the waiting room.
- 2× check 3 brainstorm: Less important than the salvage brainstorm; can probably just grab it off the combo or whatever.
- 3× on-attack riki: Not really sure how many of these I want, so 3 seems like a good starting point.
- 3× hand-to-clock check X: To be able to clock up to level 1 if necessary.
- 3× level 0 Momoka that search bonds for Nina: Swinging big at level 0 seems like a good start for a deck that’s looking to deny the opponent resources to some extent, though I don’t think I want to dedicate a ton of deck space to this package.
- 2× level 0 Nina that goes with the Momoka above
- 2× stockswap: To be able to level 1 of them for experience.
- 1× helmet: Mostly for the level swap ability.
- 2× climax swap: With 3 combos, want to be sure this is accessible.
- 2× freefresh backup: Mostly as blue experience I guess; 6 doors also means it should be pretty accessible if it’s needed.

- 1× double adachi giver: Another experience target, and probably the most efficient of the anti-board level 2s.
- 1× hand-to-stock PR: Could be good to have if you need some extra stock on the finishing turn to stockswap or something, and is also a bit of on-demand deckspeed. (Forgot about this PR until partway through writing this; I initially had 2 of the double adachi givers, but it’s probably not too important to be able to level that for experience, particularly with level swap being available.)

And of course the climaxes; going for a 4/2/2 split, since the level 1 climax is the one you have the least amount of time to find and where you’re least likely to have the resources to climax swap into it. (And without a way to grab cards out of clock, there’s no way I’m only running 1 of any of the climaxes.)
So that’s 32 red and 10 blue, which should be plenty given that you don’t need blue until level 3.
And 23 level 0s, 6 level 1s, 7 level 2s, and 6 level 3s; I’m a bit worried about experience, but probably it’s fine.
The name for this deck will be… I guess as a sort of anti-back-row deck, I’ll call it “Flipping Off the Back Row”.
Deck Log: 4MQA6
EncoreDecks: YMIQUTjwz

Nina Topend Deck
This deck is aiming to generate as many resources as possible to get as many burns as you can out of the finisher.
To start with, here’s a table that’s aiming to help us get an idea of what sort of numbers you’d realistically expect to see from this finisher. Damage assumes front attacks that don’t trigger; obviously there could be some variation there. The “cost” here is stock and hand, and includes playing the characters and climax; you probably want to have the bulk of it going into main phase, but it can also be generated during main phase (e.g. from hitting a brainstorm) or attack phase (by triggering). The order is roughly from most to least damage.
| Board | Instances of Damage | Cost | Sculpting | Additional Requirements |
|---|---|---|---|---|
| Triple Nina (3 burn 2s) | 9 (3× 3, 3× 2, 3× 1) | 19 (6 stock, 4 hand, +9) | 3 Nina, climax | |
| Double Nina + Momoka (2 burn 2s) | 9 (3× 3, 2× 2, 4× 1) | 17 (6 stock, 4 hand, +7) | 2 Nina, 1 Momoka, climax | Climax in waiting room (or hand) |
| Single Nina (4 burn 2s) | 8 (1× 3, 6× 2, 1× 1) | 20 (2 stock, 2 hand, +16) | 1 Nina, climax | 2 additional attackers |
| Double Nina (3 burn 2s) | 8 (2× 3, 4× 2, 2× 1) | 17 (4 stock, 3 hand, +10) | 2 Nina, climax | 1 additional attacker |
| Triple Nina (2 burn 2s) | 8 (3× 3, 2× 2, 3× 1) | 14 (6 stock, 4 hand, +4) | 3 Nina, climax | |
| Double Nina + Momoka (1 burn 2) | 8 (3× 3, 1× 2, 4× 1) | 12 (6 stock, 4 hand, +2) | 2 Nina, 1 Momoka, climax | Climax in waiting room (or hand) |
| Nina + Momoka (no climax; 3 burn 2s) | 7 (2× 3, 4× 2, 1× 1) | 19 (4 stock, 3 hand, +12) | 1 Nina, 1 Momoka | 1 additional attacker, climax in waiting room |
| Single Nina (3 burn 2s) | 7 (1× 3, 5× 2, 1× 1) | 15 (2 stock, 2 hand, +11) | 1 Nina, climax | 2 additional attackers |
| Double Nina + Momoka (no climax; 2 burn 2s) | 7 (3× 3, 2× 2, 2× 1) | 16 (6 stock, 3 hand, +7) | 2 Nina, 1 Momoka | Climax in waiting room |
| Double Nina (2 burn 2s) | 7 (2× 3, 3× 2, 2× 1) | 12 (4 stock, 3 hand, +5) | 2 Nina, climax | 1 additional attacker |
| Triple Nina (1 burn 2) | 7 (3× 3, 1× 2, 3× 1) | 9 (6 stock, 3* hand) | 3 Nina, climax | * To only need 3 hand rather than 4, need to find the 4th piece from the draw 2/drop 1s |
| Double Nina + Momoka (0 burn 2s) | 7 (3× 3, 4× 1) | 10 (6 stock, 4 hand) | 2 Nina, 1 Momoka, climax | Climax in waiting room (or hand) |
| Nina + Momoka (no climax; 2 burn 2s) | 6 (2× 3, 3× 2, 1× 1) | 14 (4 stock, 3 hand, +7) | 1 Nina, 1 Momoka | 1 additional attacker, climax in waiting room |
| Single Nina (2 burn 2s) | 6 (1× 3, 4× 2, 1× 1) | 10 (2 stock, 2 hand, +6) | 1 Nina, climax | 2 additional attackers |
| Double Nina + Momoka (no climax; 1 burn 2) | 6 (3× 3, 1× 2, 2× 1) | 11 (6 stock, 3 hand, +2) | 2 Nina, 1 Momoka | Climax in waiting room |
| Double Nina (1 burn 2) | 6 (2× 3, 2× 2, 2× 1) | 7 (4 stock, 3 hand) | 2 Nina, climax | 1 additional attacker |
| Nina + Momoka (no climax; 1 burn 2) | 5 (2× 3, 2× 2, 1× 1) | 9 (4 stock, 3 hand, +2) | 1 Nina, 1 Momoka | 1 additional attacker, climax in waiting room |
| Single Nina (1 burn 2) | 5 (1× 3, 3× 2, 1× 1) | 5 (2 stock, 2 hand, +1) | 1 Nina, climax | 2 additional attackers |
| Double Nina + Momoka (no climax; 0 burn 2s) | 5 (3× 3, 2× 1) | 9 (6 stock, 3 hand) | 2 Nina, 1 Momoka | Climax in waiting room |
Obviously you can keep adding more burns with more resources, but I’d be quite surprised to get more than 20 combined stock & hand. On the other extreme, it’s notable that you can almost always do something with this combo.
One thing to note is that, assuming you have the characters available, playing Momoka is almost always worth it if you already have double Nina (it gets you a 2-soul attacker and replaces a 2 with two 1s, for the same cost), as is going up to triple Nina from single Nina (gets you 2 more 2-soul attackers and replaces a 2 with two 1s, while actually saving you 1 resource).
But going from single to double Nina, or double to triple, or triple to double + Momoka, may or may not be worth it depending on the exact number of resources you have. Each additional Nina gets you another burn 1 (and another 2-soul attacker) for 2 stock, and replacing the third Nina with Momoka gets you another burn 1 for 3 hand. If that stock/hand could let you get another burn 2 instead, there’s a good chance you’d prefer to just do that.
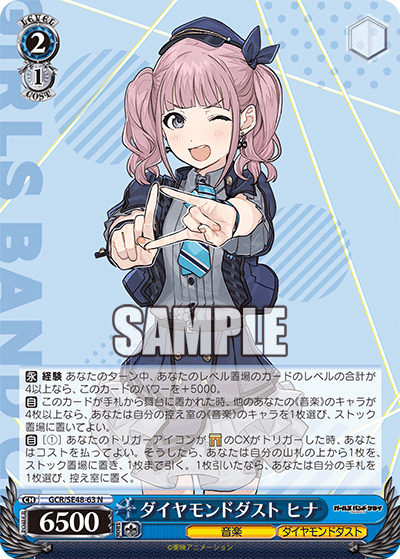
I think the Nana level 1 combo goes best with this deck, since it has that not-unreasonable chance of having a lane survive; being on pants can also help loop the combo (particularly with the level 3 combo not being on pants). You’d ideally like to select into 4-5 level 3s for the finishing turn (3 Ninas, 1 Momoka, 1 stockswap), but you can have a respectable finisher even with only single combo, so a lot of selection isn’t essential.
It might be nice to try to work in another plussing combo, but given that you’d potentially like to have 1 copy of the finisher climax in the climax area and another in the waiting room, it’s probably not a good idea to go below 4 or at least 3 of it, which pretty much rules out any 3-climax splits.
The Nana combo wanting experience is a bit awkward because it means the deck needs some amount of level 2 or higher blue cards, when it probably wouldn’t naturally want to play any. There are a few options:
- The freefresh backup is expensive, but can potentially keep you alive.
- The 2/1 Hina can refund its stock cost and is potentially helpful if you trigger a pants, but needs further experience to swing big.
- The global 1k is effectively a drop salvage, which could be useful but isn’t especially efficient.

- The EP healer, like the freefresh backup, is something you normally don’t want to spend resources on, but can potentially keep you alive (though notably, even at 3-6 with 1 card left in deck, you can still get some burns off with the combo, so a healer isn’t as necessary in that situation as it would be in other decks; that does mean you have to drop a card when playing the combo to stage, though).
- The neg soul could help you survive an extra turn if you hit level 3 first and don’t expect to be able to kill that turn, I suppose?

- The Hina combo provides some fairly cheap extra dig, which could be useful on the finishing turn.
- The clock kick is another option that can turn extra resources into a bit more damage, though it requires more experience, and given that you’re probably playing a Nina off of it, you have to play it before seeing what you get off the draw.
The clock kick is probably the one I like the most, as it’s actually better than an additional Nina if you know you’ll get the clock kick and you’re not playing the Momoka (and you don’t need to dig for the climax or something), though it does cost 1 more resource. After that would be the 2/1 Hina I suppose, as the only one that doesn’t cost additional resources, and which can also be nice for hedging against the case where you trigger a bunch right before the opponent’s finishing turn or something. And it can potentially swing pretty big, particularly if you’re already looking to have 4 experience for the clock kick. So I’ll go with 3 of each to start with, to have a decent chance of naturally getting the experience condition (honestly maybe just 2 of each would be fine, particularly since it’s only the power condition rather than the combo itself that needs experience; we’ll see how much room there is in the deck).
So putting this together with some concrete numbers, I’ll go for:
- 4× Nina combo: Potentially want to triple combo.
- 3× level 3 Momoka: Only need one (1 Nina 2 Momoka is almost certainly not worth it, unless the opponent is holding tap counter perhaps), but having 3 makes it easier to find and lets one be used for experience.
- 2× stockswap: So one can be levelled for experience.
- 4× Nana level 1 combo: Want to triple combo, ideally multiple turns in a row.
- 2× 1/1 Rin: As a 3rd reasonably big lane in case you only get double combo.
- 3× clock kick: For blue experience, as mentioned above.
- 3× 2/1 Hina: For blue experience, as mentioned above.
- 4× on-attack riki: To maximize the chance of getting triple combo.
- 1× climax swap: Ideally shouldn’t need this too much, but still want to have it.
- 4× salvage brainstorm: Probably just want double brainstorm backrow; salvage brainstorm is better for looping the level 1 combo.
- 2× helmet: Primarily for the level swap ability; can also help with selectivity since the level 1 combo doesn’t have a lot of that.
- 3× hand-to-clock check X: To be able to clock up to level 1 or level 3 if necessary.
- 2× 1/0 backup: The most efficient way to loop the combo, if the opponent is swinging at 6-8k.

I was worried I was running out of space there, but I guess that’s just 37 non-climaxes. So the remaining 5 will be:
- 3× cleancut: It’s a free plus. (Though the brainstorm is the only really good target if you hit level 1 next turn; the helmet is ok as well. On the other hand, if you’re already level 1, it can also be used to loop the level 1 combo, potentially.)
- 1× hand-to-stock PR: The topend doesn’t necessarily need to have stock instead of hand, but there are cases where it could be useful; it could also help in the case where you hit a bunch on a brainstorm or something and would otherwise go over hand limit.
- A 3rd backup, to increase the chances of seeing it at level 1.
(I initially had 2 of the sac-to-draw Subaru, when I’d forgotten about the PR; but once I cut that down to 1, I figured I’d prefer to just have a 3rd backup instead.)
So that’s 24 red and 18 blue non-climaxes (actually pretty even, huh); and 18 level 0s, 9 level 1s, 3 level 2s, and 12 level 3s.
This deck will be called, let’s see… going off of the name of the Nina combo, and the fact that I’m combining it with the Diamond Dust level 1, I’ll call it “Mixing Bands Isn’t Wrong”.
Deck Log: 52GBY
EncoreDecks: tSXwju8ix
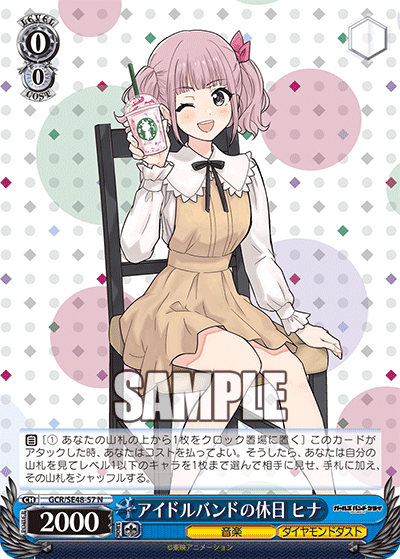
Hina Topend + EP Deck
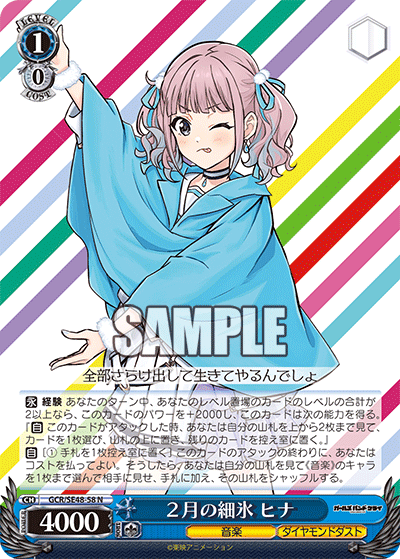
There isn’t anything that can add onto the damage you do with triple Hina combo on the finishing turn, so instead the goal here is to be ahead in damage to start with, by being compressed and healing at level 2. To that end, I’m thinking the level 1 combo will be the Nana combo, with its clean stock and deckspeed, making this 8 pants; perhaps it’ll use the search brainstorm? Really, a split between search and salvage probably makes the most sense; I don’t think there’s much else that’d be sitting in the back row.
I’m mostly thinking of the Rupa EP as the healer here, but there’s also the Ai EP; it might be nice to have a mix, if only to have the potential for either blue and red experience depending on which you level.
I guess if the goal is to be compressed, it’d be nice to have something that can shuffle the deck if you see a climax on top with the Rupa EP. The only level 0s that do that are the Momoka that searches out a specific Nina, and the drop search; since Rupa EP needs a full field, the Momoka would be pretty much guaranteed to bring out the Nina on top of something, so the drop search probably makes more sense.

It would also be nice to have a ditch outlet during attack phase at level 1, if you trigger a pants; I’m not sure if any of the options are worth it, though. There’s a rize & a drop salvage & a fuka that are on-death, and an end-of-attack drop search; the on-death stuff means you have to plan to crash them in before you find out whether or not you trigger, and the end-of-attack drop search costs a stock, which isn’t a whole lot better than just not salvaging a climax and missing out on the hand (plus, since you’re likely close to refresh, it probably doesn’t give you a lot of selection).

So I’m thinking:
- 4× Hina combo: Want to triple combo.
- 4× Rupa EP: Potentially want to have 2 on stage and 1 in level.
- 2× Ai EP: The EP condition is less reliable, so it has more potential to be a brick, but if you have the condition then it can save a stock compared to Rupa, and it’s blue experience.
- 2× 2/1 Hina: Can let you have 3 big lanes (on offense, at least; this and Rupa are pretty small on defense); it’s also some more blue experience.
- 4× Nana combo: Want to triple combo.
- 2× 1/1 Rin: Like with the previous deck, this can give you a 3rd reasonably big lane at level 1, which can sometimes mean a lane survives; and Rupa EP can convert a character that survived into a hand even if you don’t want to attack with it.
- 2× search brainstorm: With a split for the brainstorms, probably only need 2 of each.
- 2× salvage brainstorm: Ditto.
- 1× drop search: As mentioned above, can shuffle your deck if you see a climax on top.
- 2× stockswap: Once again, so you can level one for experience.
- 4× on-attack riki: To help get triple level 1 combo.
- 2× helmet: There’s a lot of stuff that wants experience in this deck, so the level swap could be important; it’s also a ditch outlet and a source of selection.
- 1× climax swap: Probably not especially important for this deck, since it’s not even necessarily looking to loop a combo (kind of awkward that it ended up being 8 pants, honestly) and the level 3 combo digs, but still want to have this as an option.
- 2× ditch climax salvage/draw-drop: An efficient double ditch outlet seems pretty nice for an 8 pants deck. In particular, it can be a sac target for Rupa EP or Hina combo, unlike the helmet.

- 3× hand-to-clock check X: For clocking up during main phase.
- 3× cleancut: It’s a potential costless plus, helping the second-deck compression.
- 2× antichange counter: With this being a fairly defensive deck, the potential to remove an attack seems pretty nice, and playing EPs means you likely have the board to be able to threaten it. A 2-of so you can level one for experience, of course.
- 2× hand-to-stock PR: Can effectively turn Rupa EP into a stock healer, which seems pretty nice when you’re looking to play 2 of them, and of course it’s just generally useful.
That’s 2 cards extra, so I guess I actually have to cut something here. Let’s see, right now it’s:
Colors: 26 red, 18 blue
Levels: 22 level 0, 6 level 1, 4 level 2, 12 level 3
I’m thinking I’ll cut the second stockswap (it’s mostly blue experience that’s important, and if you do need to level a 1-of, the helmet can still grab it) and a ditch-climax-salvage (there are other ditch outlets).
I guess I didn’t end up including the level 0 Subaru that sacs to draw, for the case where you reveal something on top of deck that you’d like in hand; it might be nice to try to work that in, but I don’t think it’s super important.
For the name… well, both of the combos are Diamond Dust, but I don’t think it’d be a different deck if you switched to a different level 1 combo. The concept of being a fairly standard deck but (hopefully) doing it well/efficiently does kinda fit, though. With it being a more defensive deck, that could play off of diamonds’ hardness somehow… though the “dust” part doesn’t work too well with that, I suppose. Something to do with healing? Hmm, the Rupa EP’s card name mentions not being alone, so could play off of that with the idea being to play more than one EP. “一人じゃないEP”; yeah, I’ll go with that. Or wait, maybe I should make “EP” plural there. It also still sounds like “not alone”; while this is based on the card name, it’s trying to say something slightly different, more like “not just one”. So: “一人だけじゃないEPs”.
(Though after a few games of testing, it doesn’t seem especially consistent at getting multiple EPs, honestly.)
Deck Log: 5PPVG
EncoreDecks: pP5bKVjiR

Of course, Girls Band Cry has a TD coming out in a couple months, so there’s a decent chance these decks could change significantly once those cards are added to the pool. But for now, this is what I’ve come up with.

Leave a comment